/building · December 2026
Live Edge Tables
woodworking · redwood · epoxy
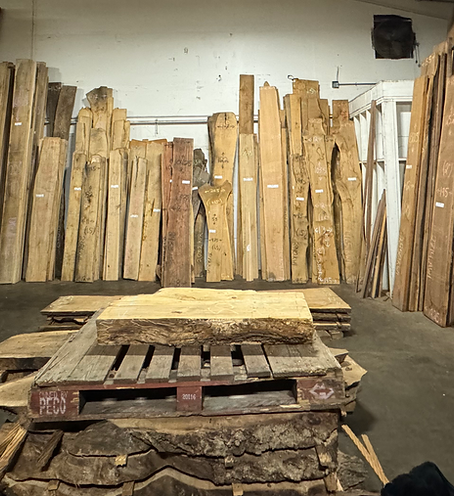
From a warehouse in Richmond (Peroba Reclaimed Wood), I picked up some slabs to build custom tables and furniture. This is a guide for a novice to build their own live-edge standing desk.
Finding a slab#
If you're in the Bay Area, my top recommendation is Peroba Reclaimed Wood. The guy who I normally see there (Landon) is an awesome guy who has dropped plenty of wisdom on me.
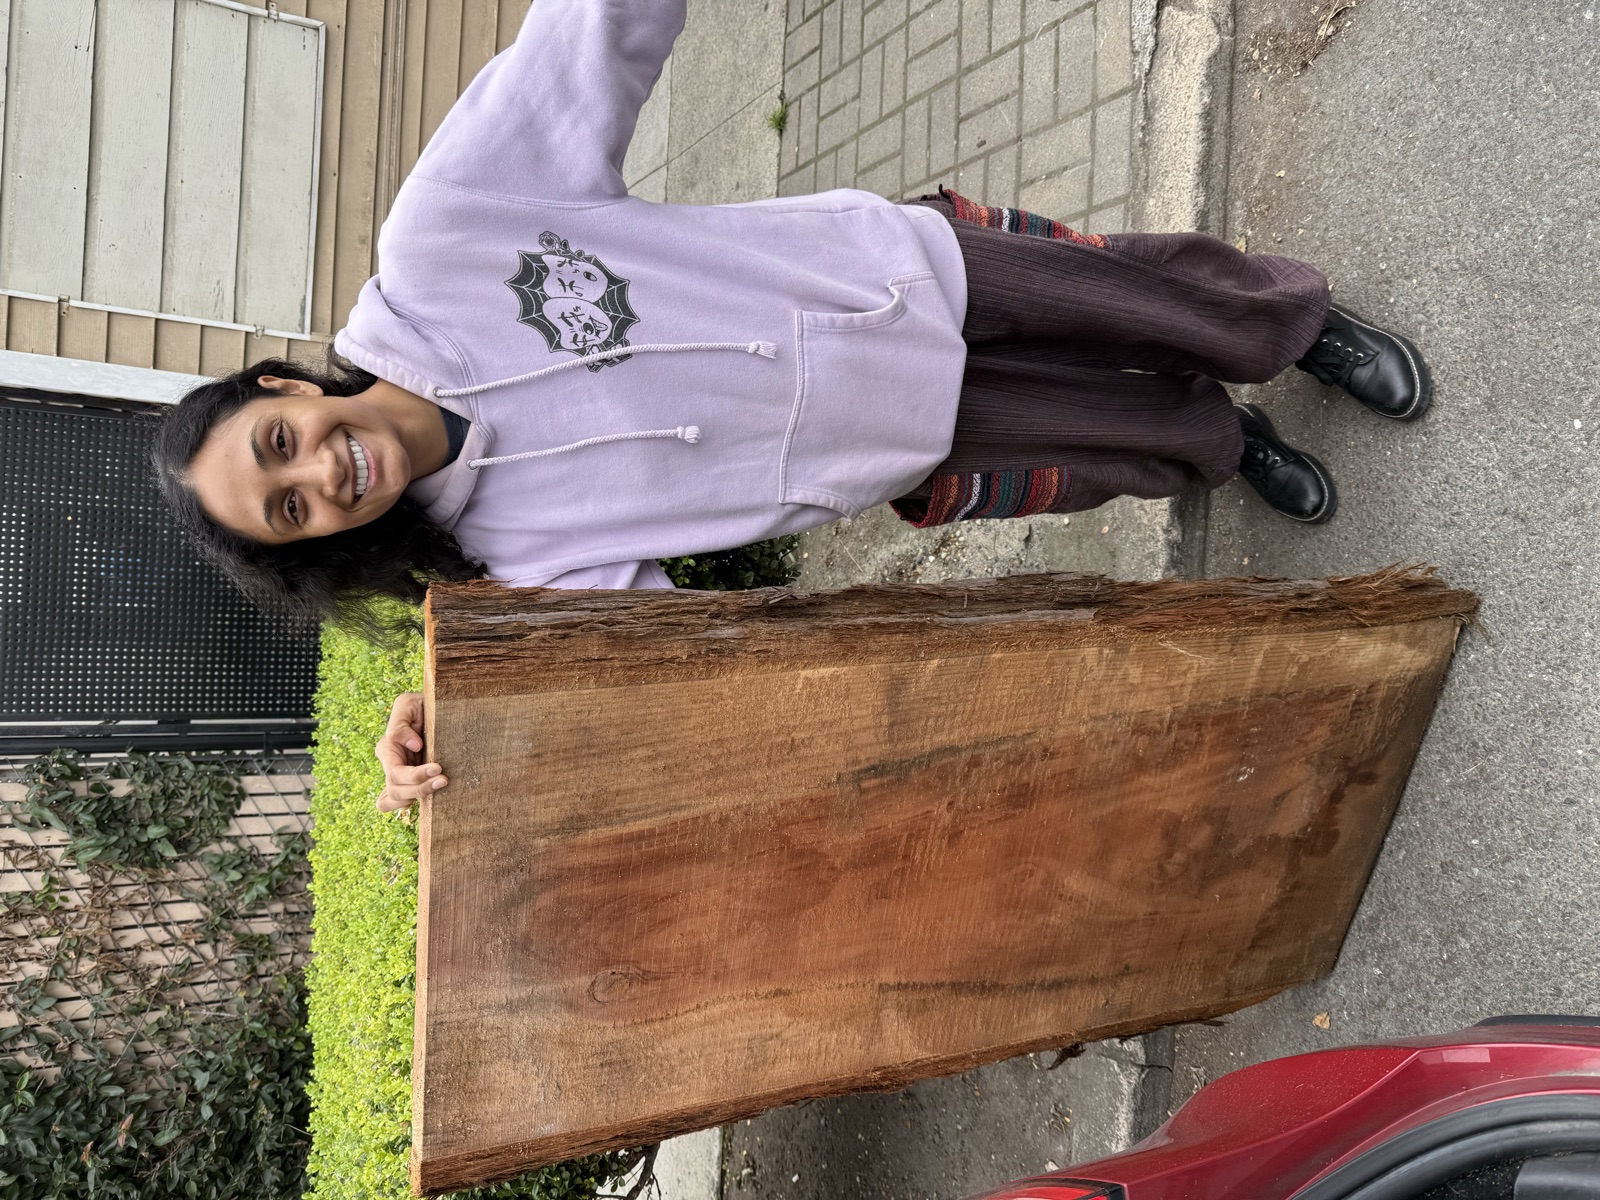
My first slab was a $100 piece of redwood that had a lot of sun damage. I was excited to have a test piece where I could make mistakes without feeling bad about wasting a good piece of timber.
Getting the bark off#
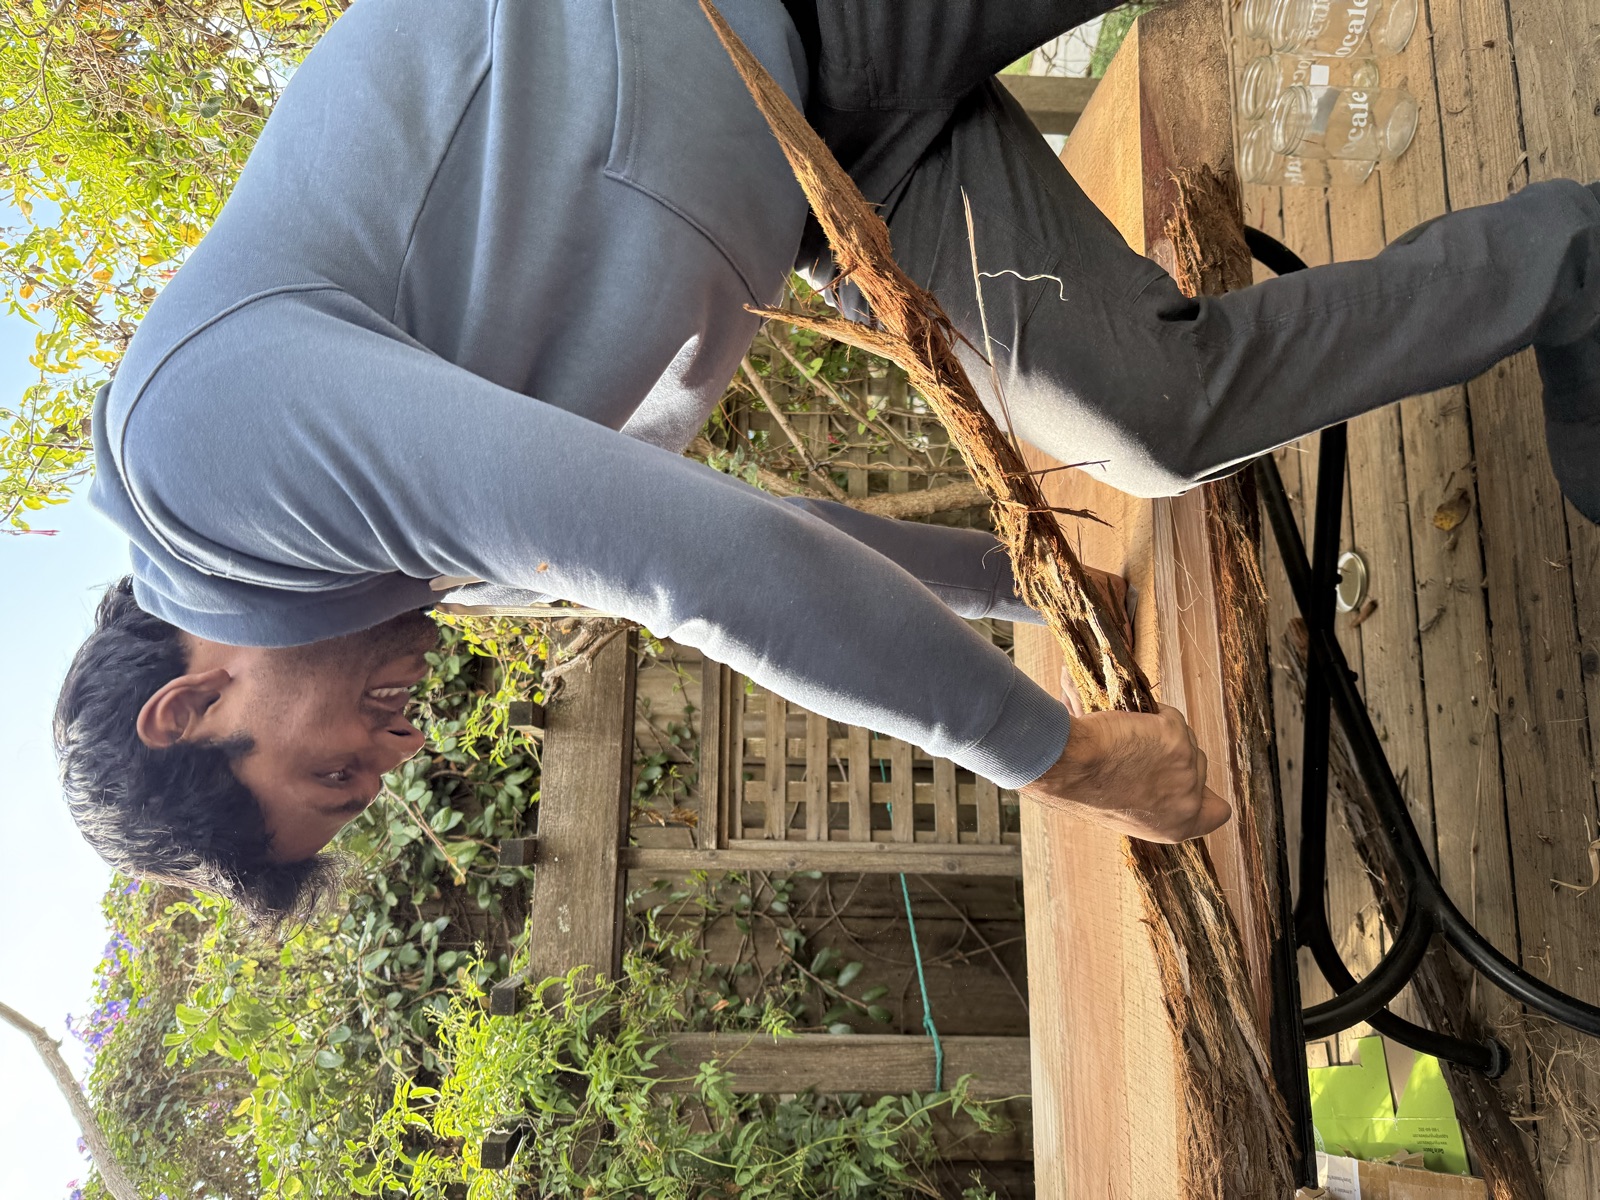
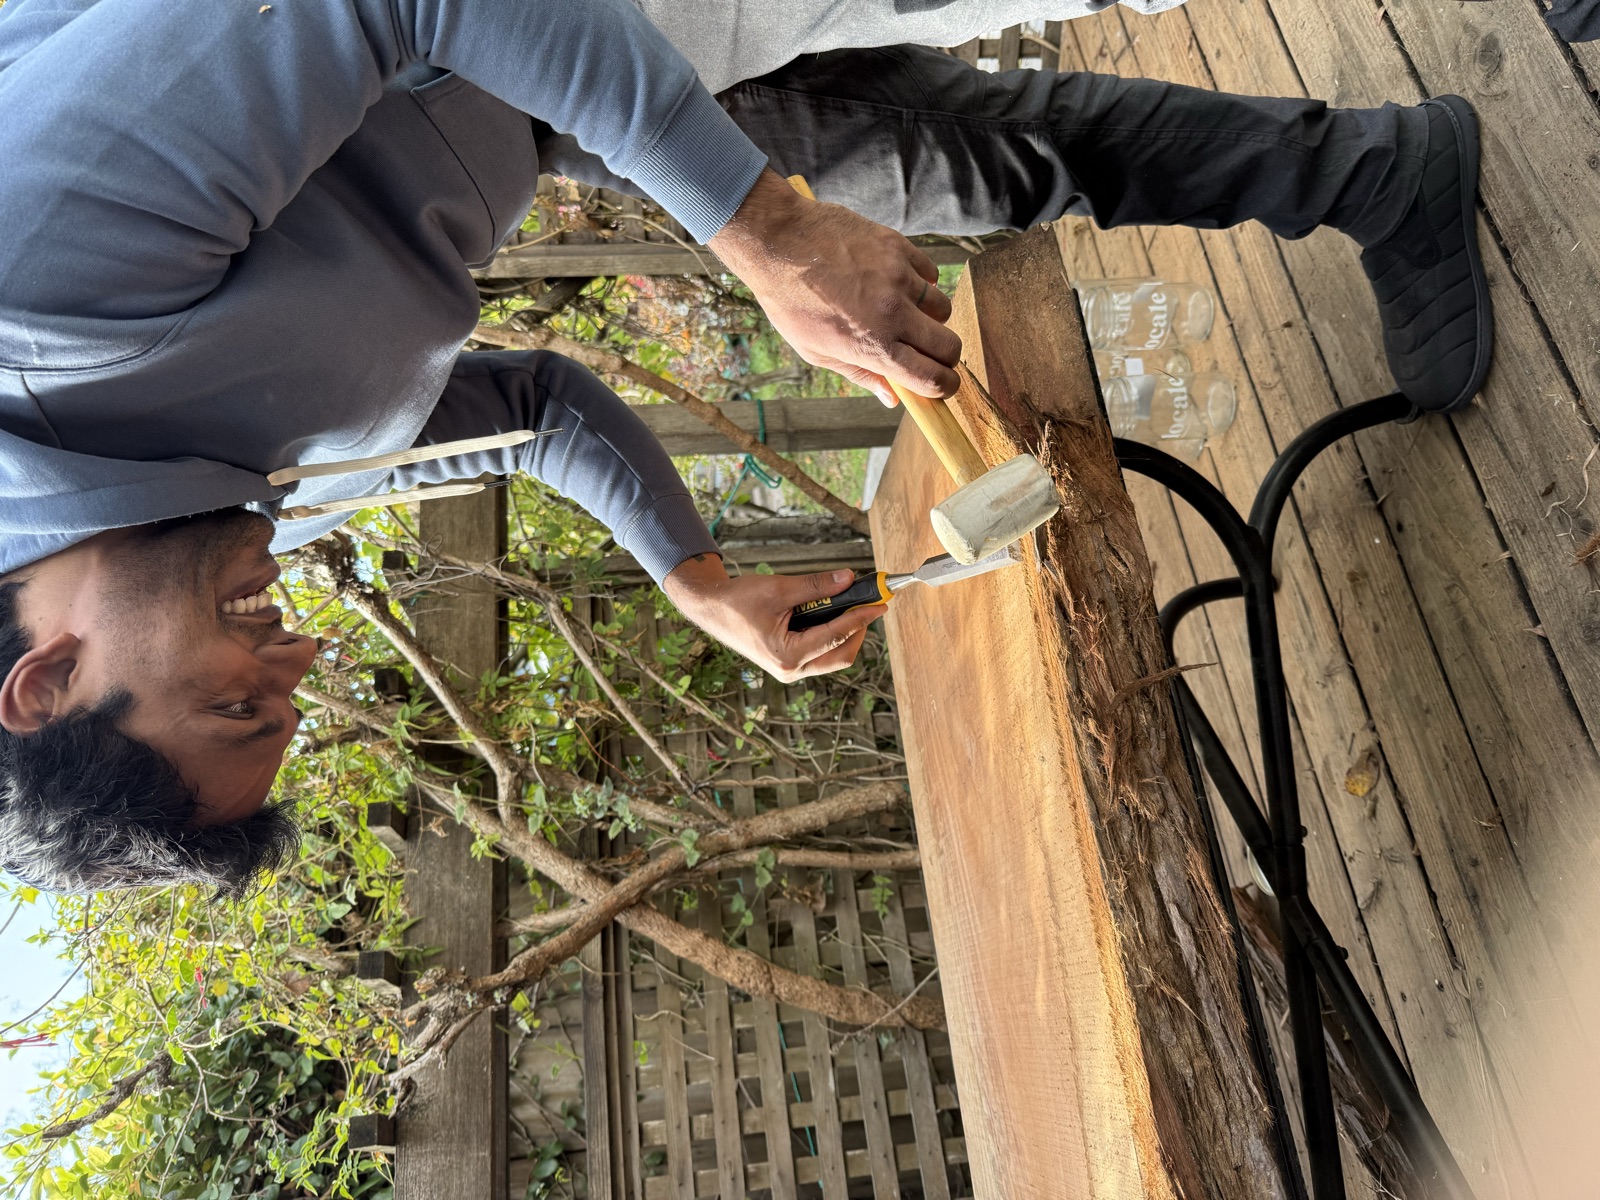
The live edge still had bark on it. Some of it peeled off in long strips, and the rest needed a chisel and a mallet.
Sanding#
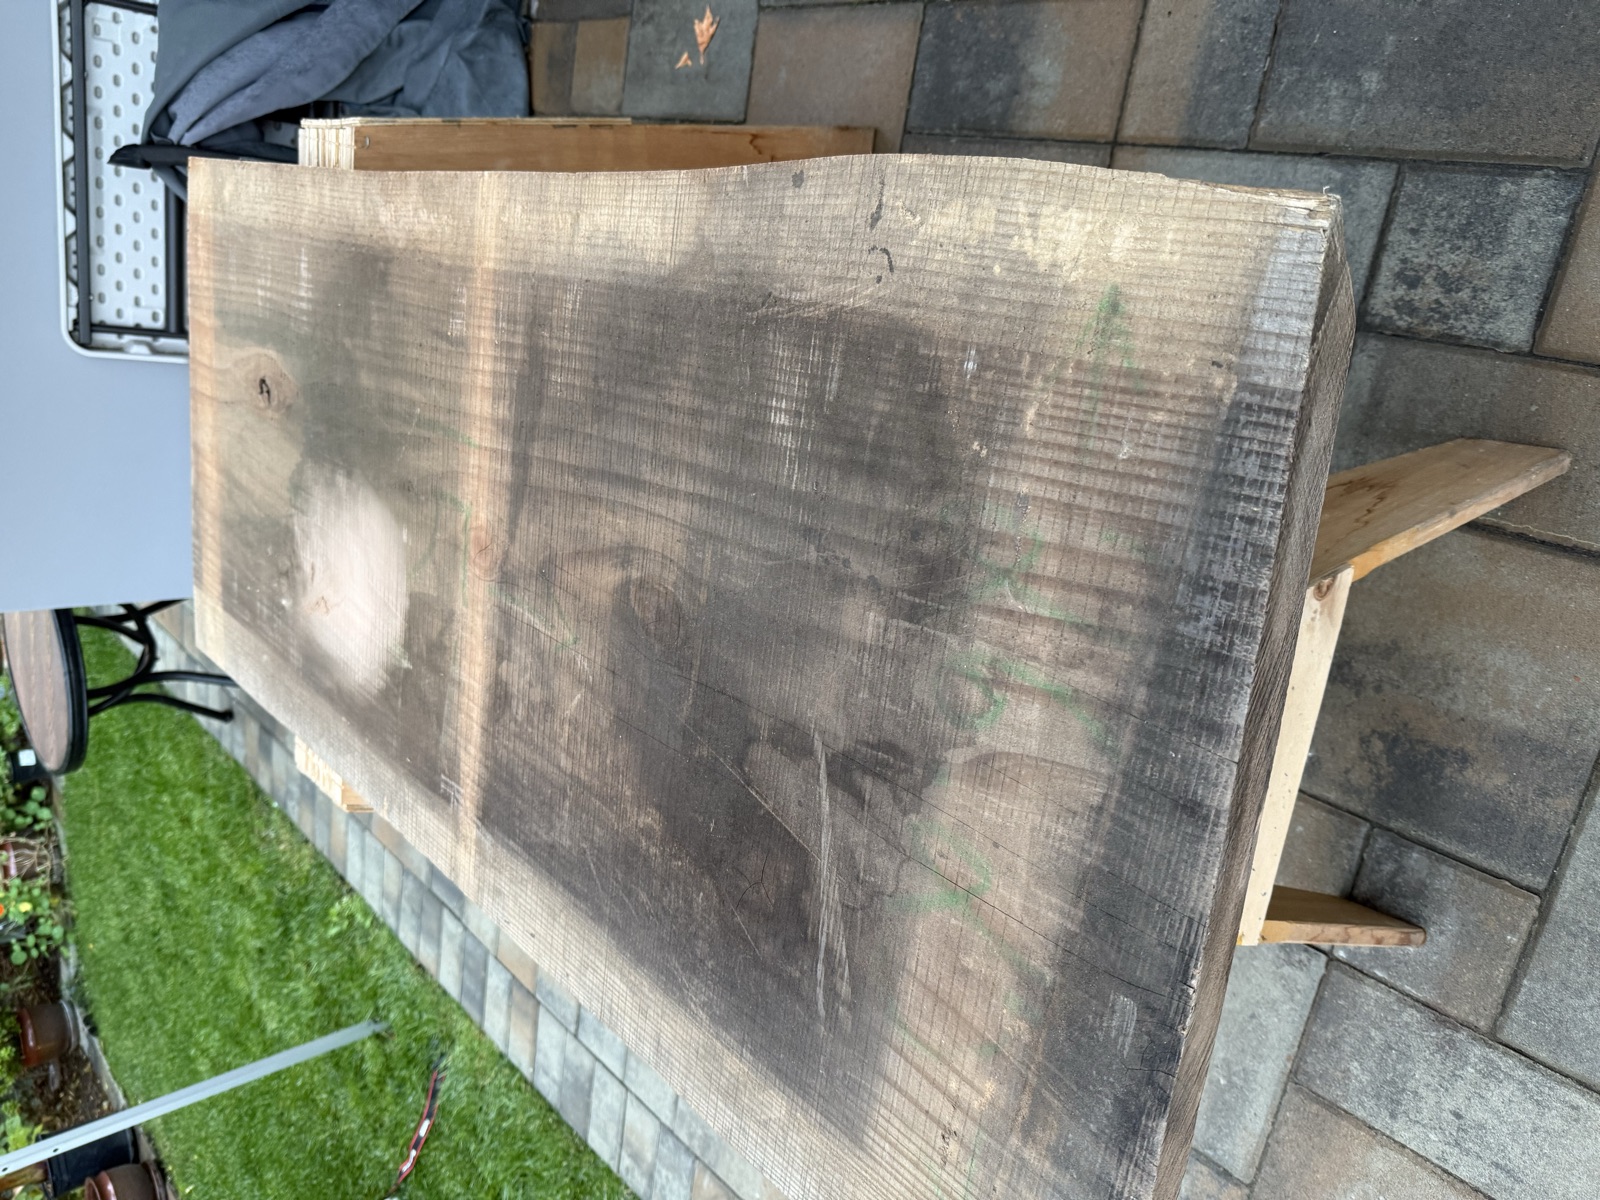
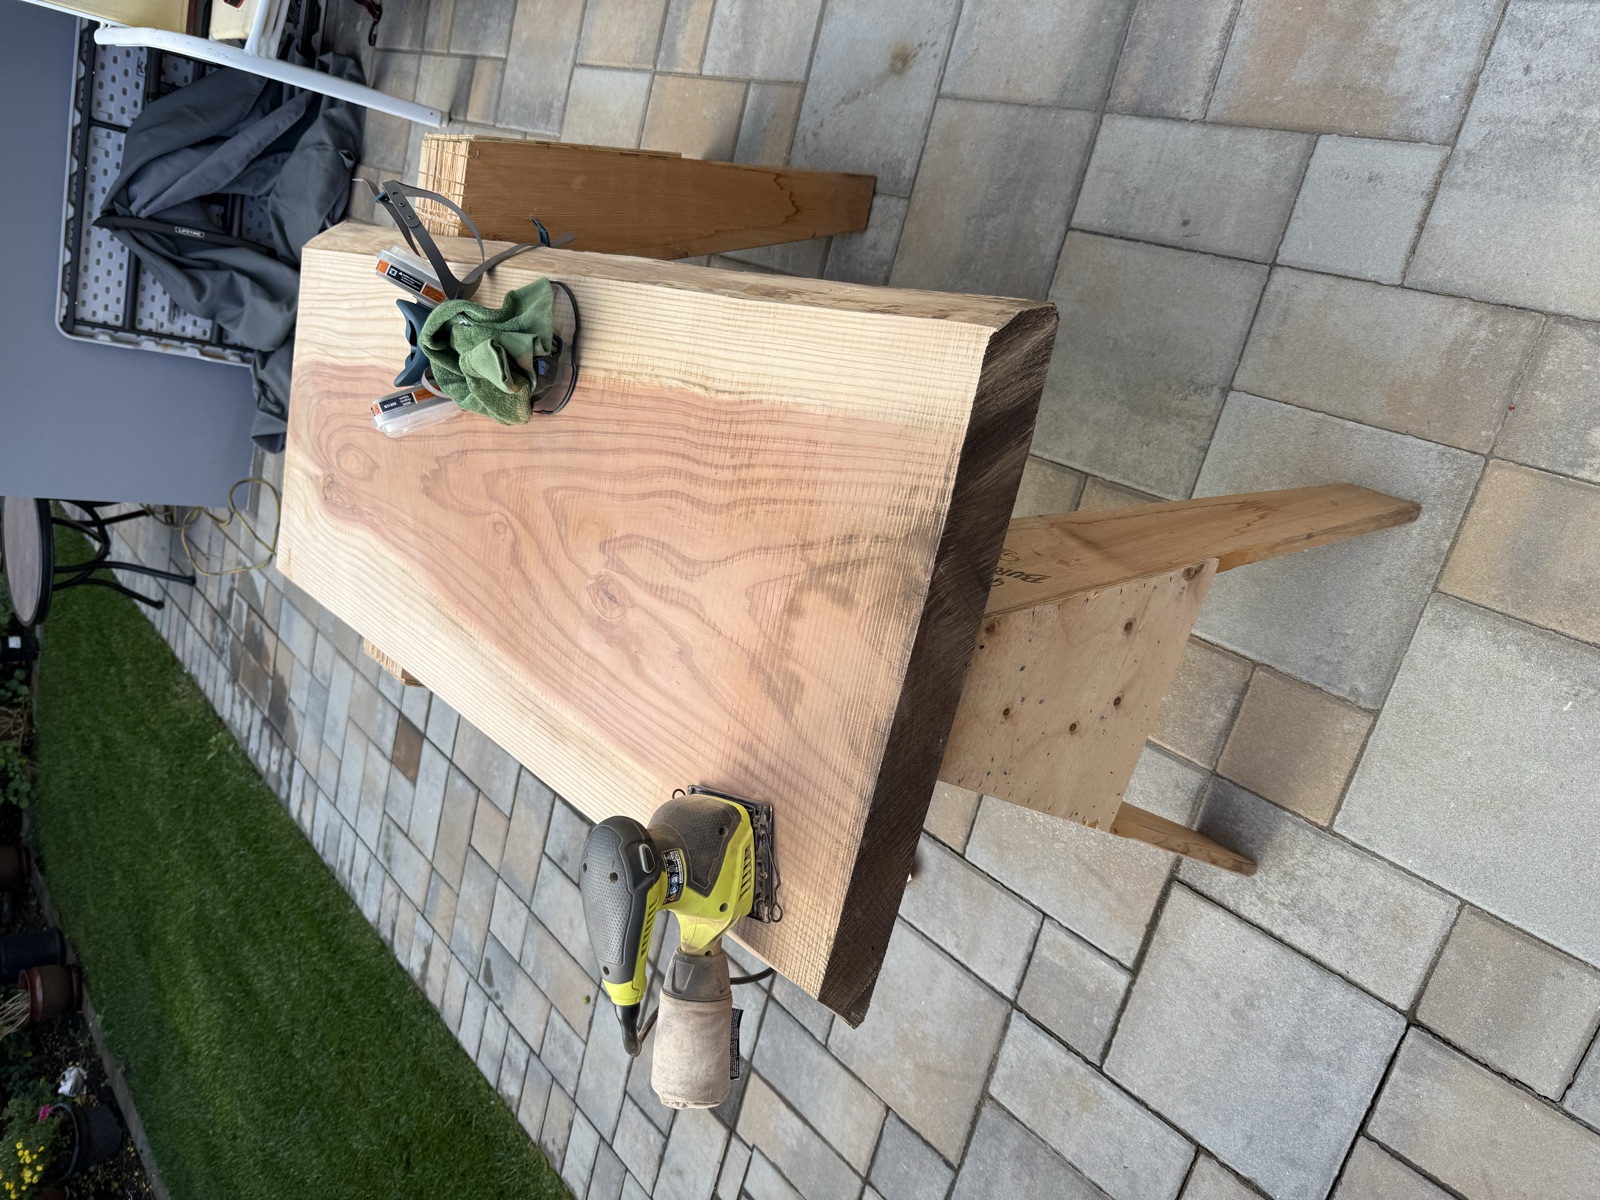
I started by sanding with a corded DeWalt random orbital sander - you should be able to find these on sale for $80. I also used a corded sheet sander for the higher grits and the edges.
I started with 100 grit sandpaper to smooth out the surface, then did another pass with 150, then another pass with 220, and a final pass with 320. I also used a full face respirator, since the sawdust is really irritating if you're getting it in your eyes for a couple hours.
Cutting it down#
The slab was not perfectly rectangular, so I measured the exact line with a framing square and cut it with a jigsaw. The wood was so thick that it took around an hour to slowly make it all the way through.
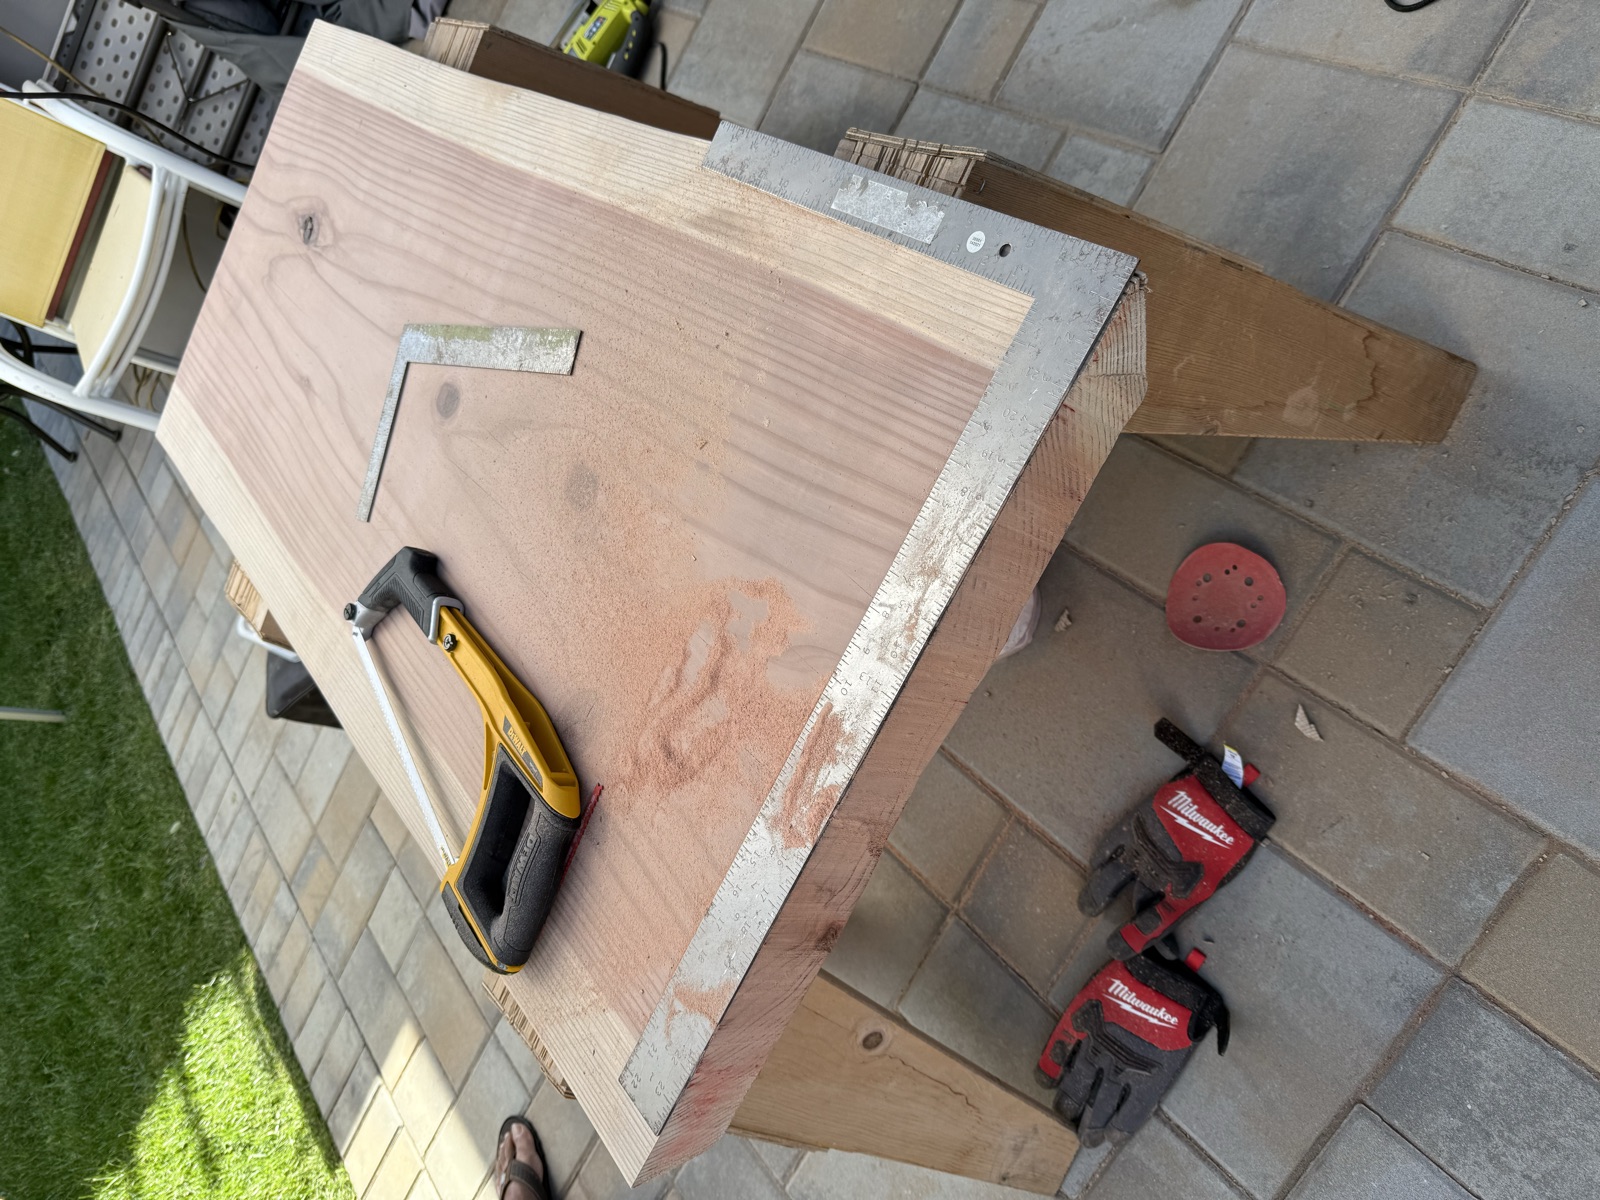
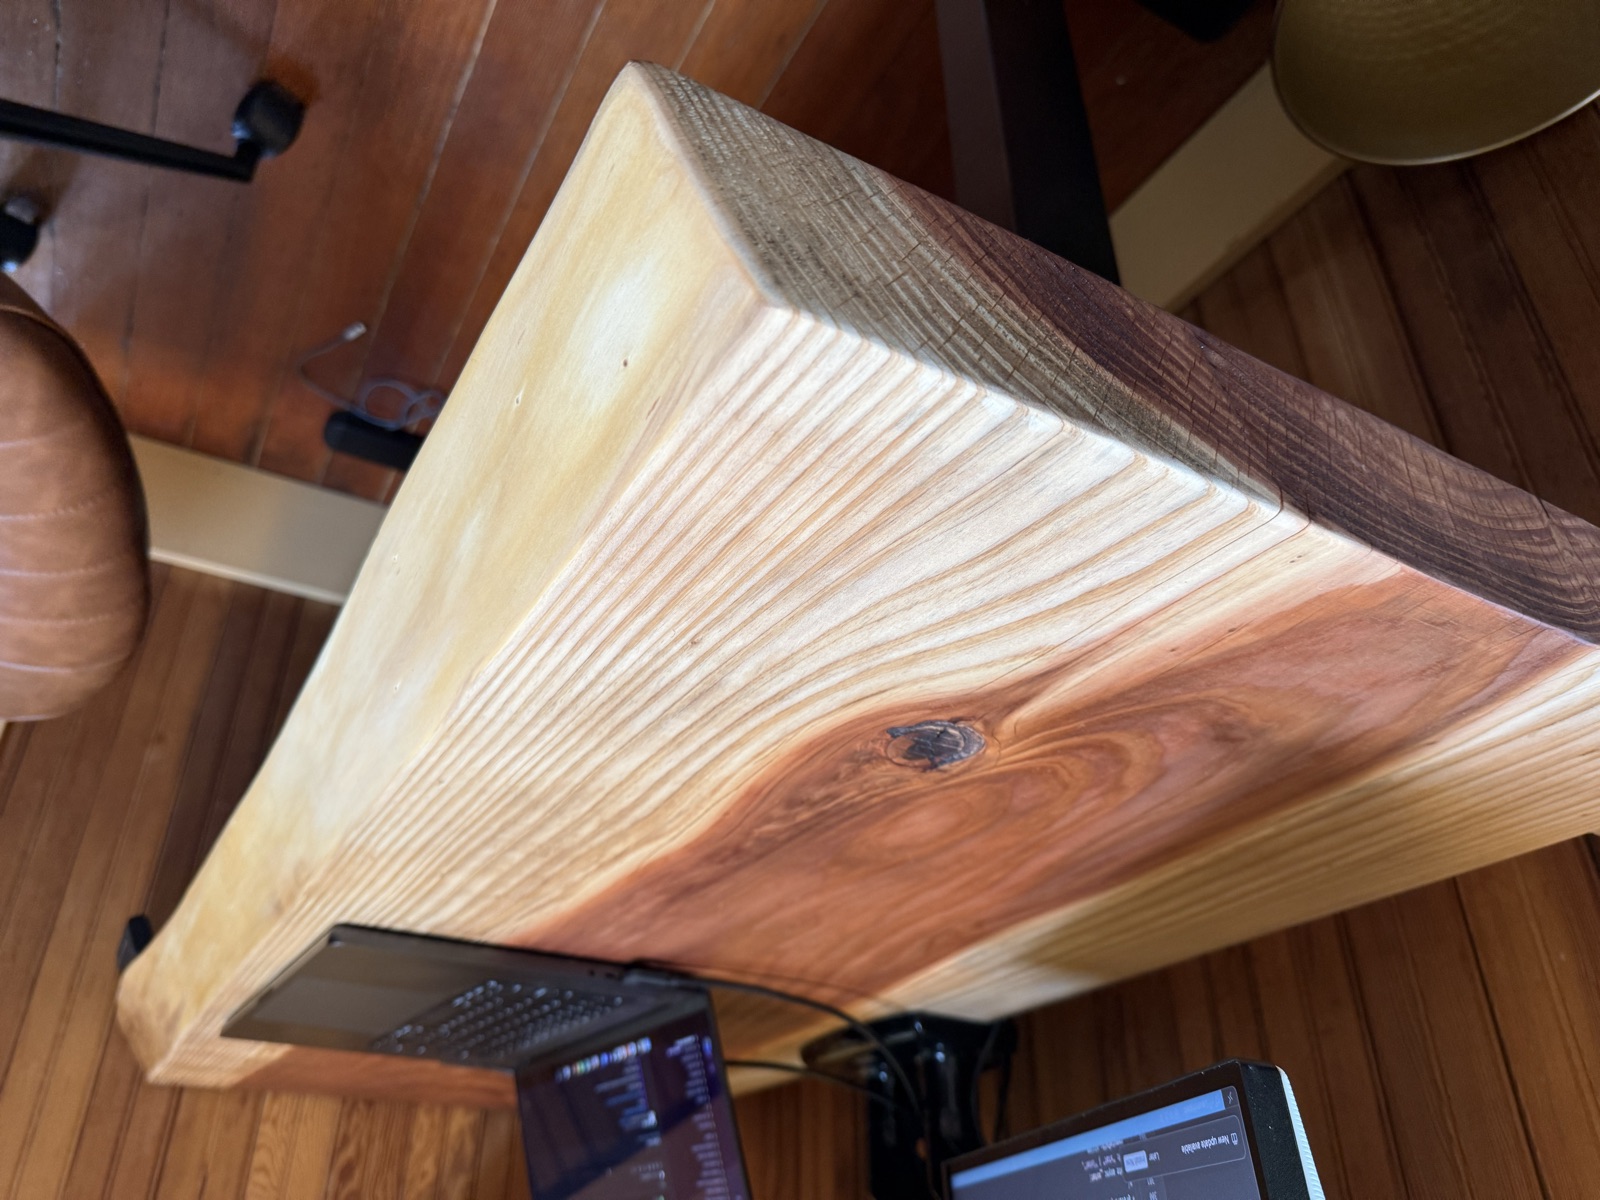
Eventually I had the table shaped and sanded exactly the way I wanted it!
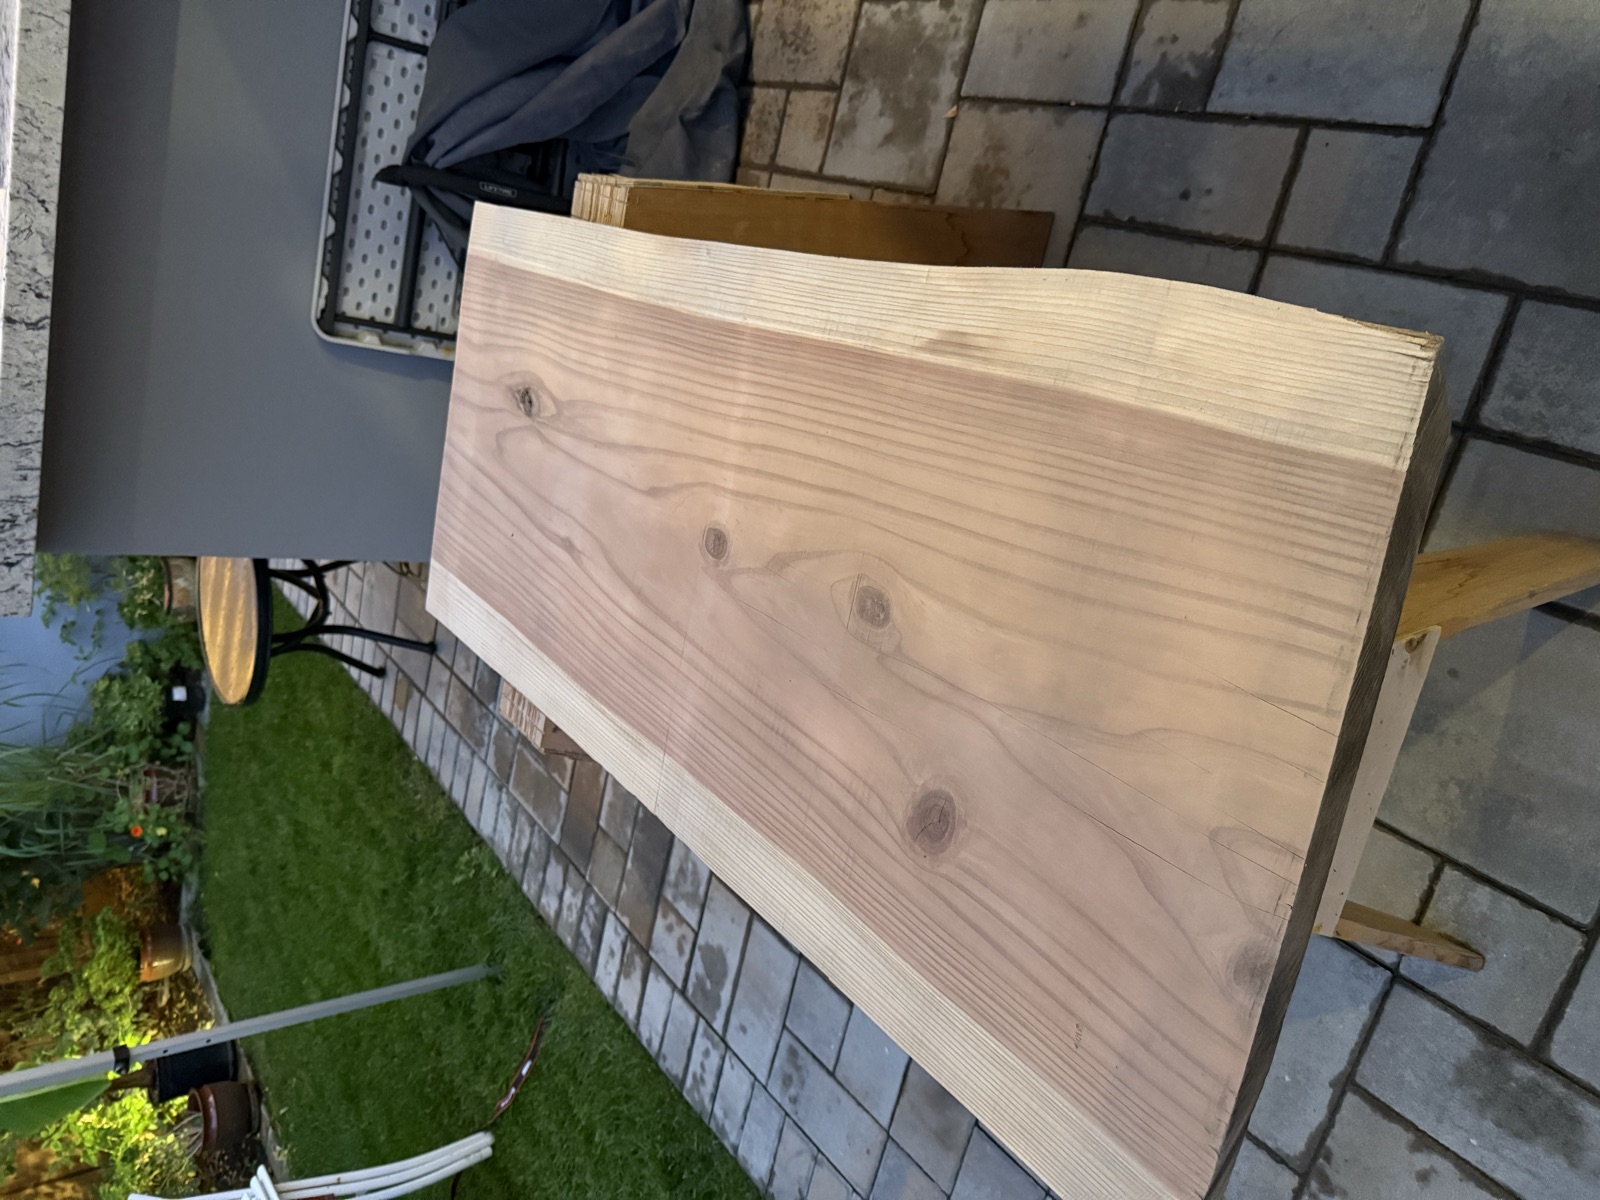
Applying the finish#
I am a proponent of Odie's oil, which has turned out amazing for all my projects. It's made entirely from naturally occuring oils and resins. I'm typing this blog post on the piece of wood pictured here, and the finish has held up beautifully after a year of frequent daily use.
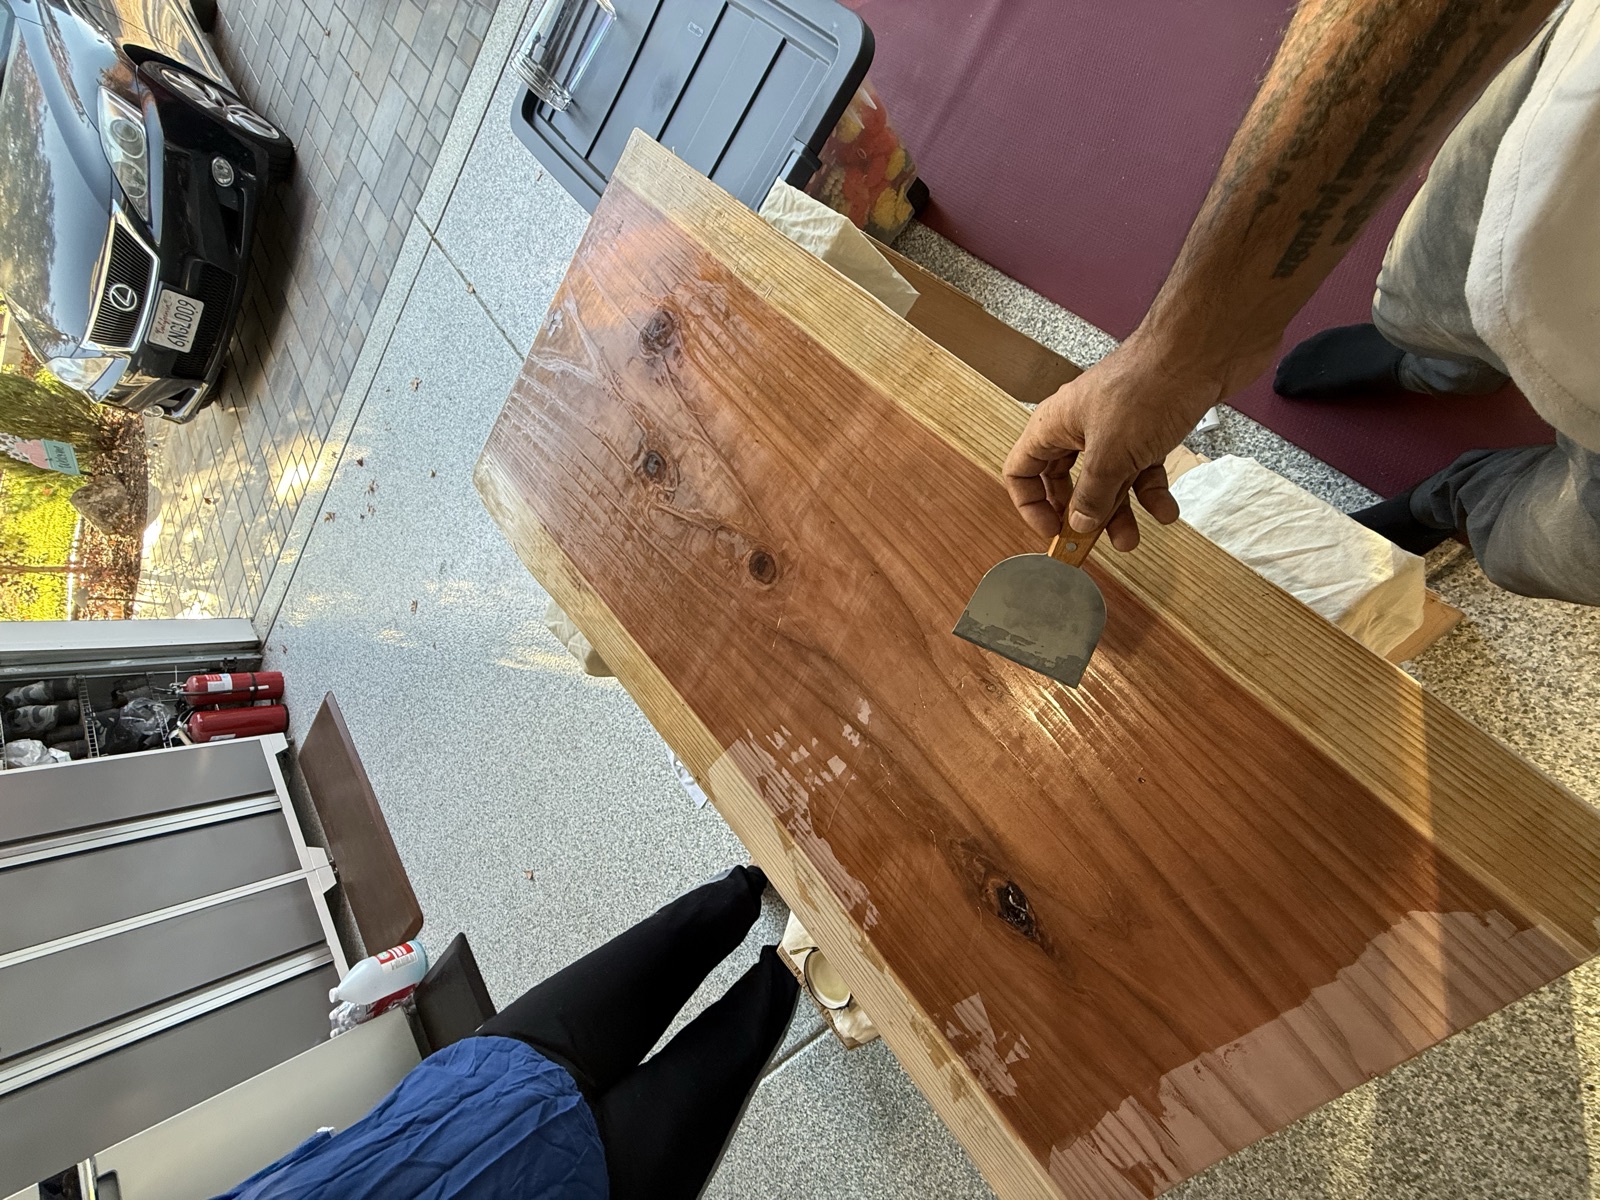
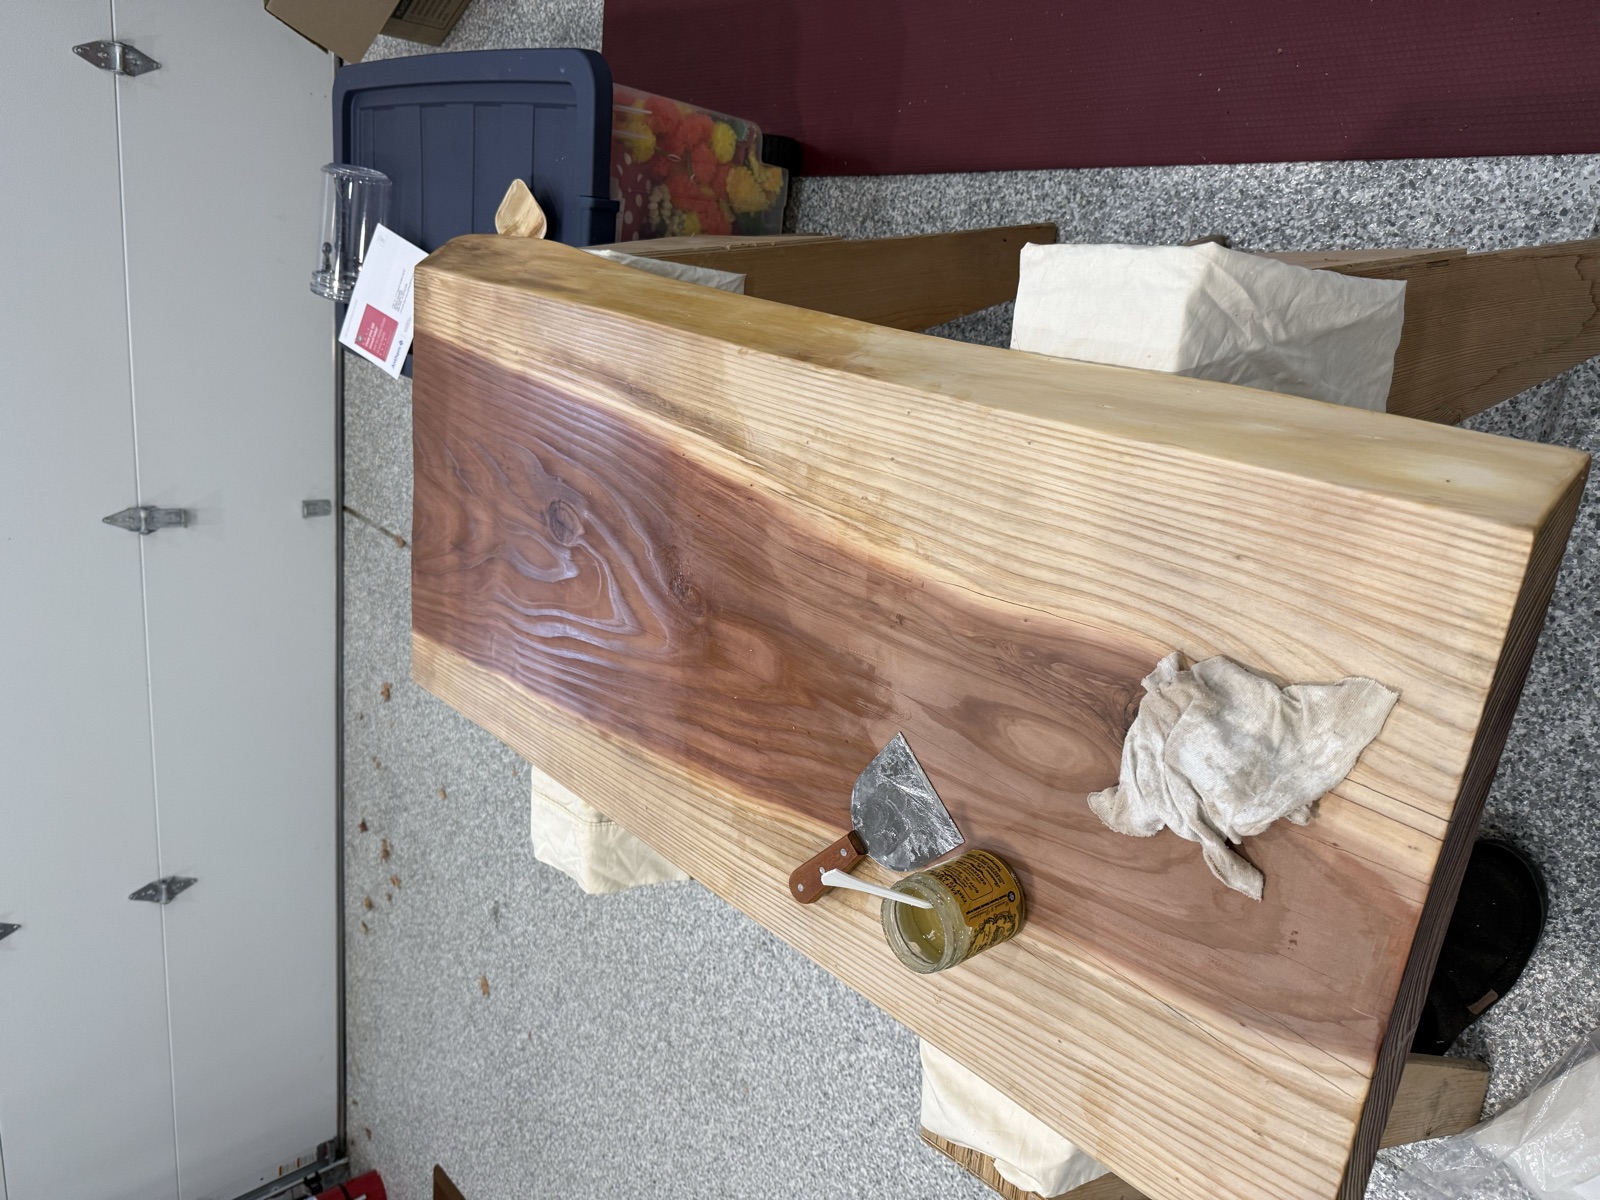
My original guidance was to apply a very thin coat of oil, then use a spatula to spread and to wipe off the excess with a rag. I eventually switched to using non-scratch non-woven pads, which are way less strenuous to use and noticeably conserve oil.
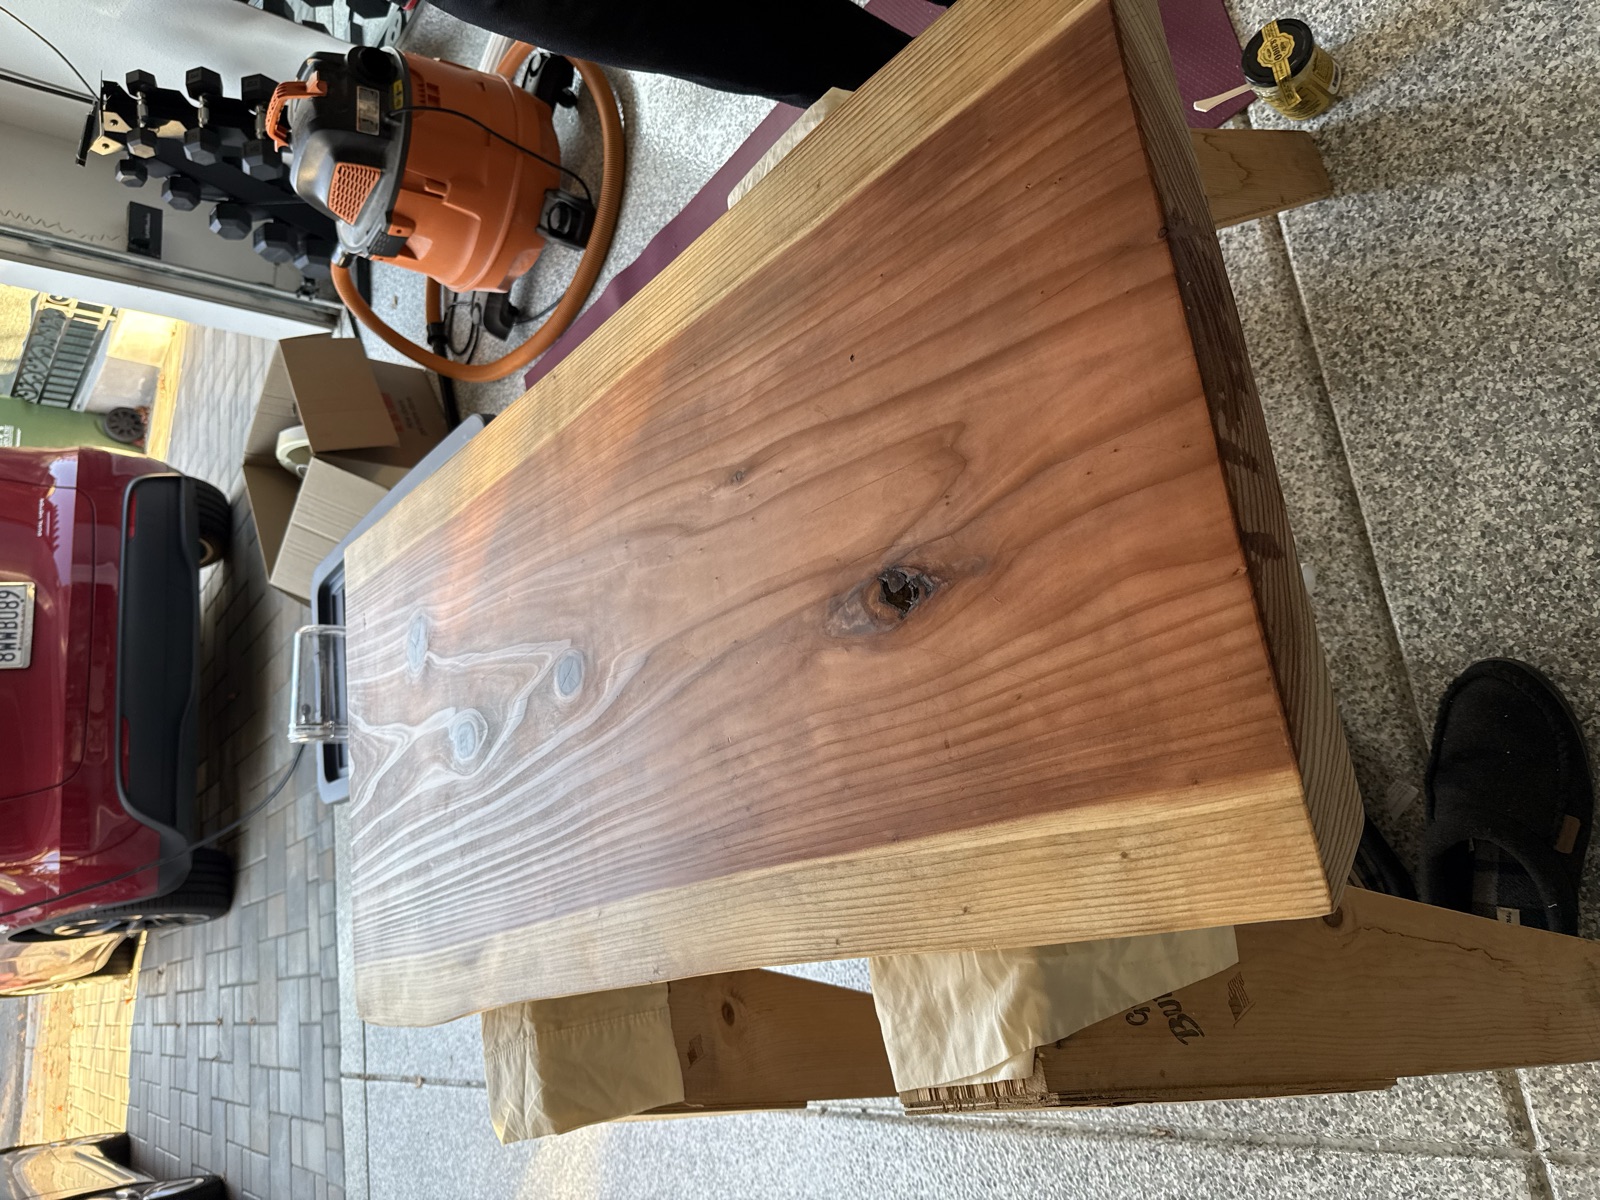
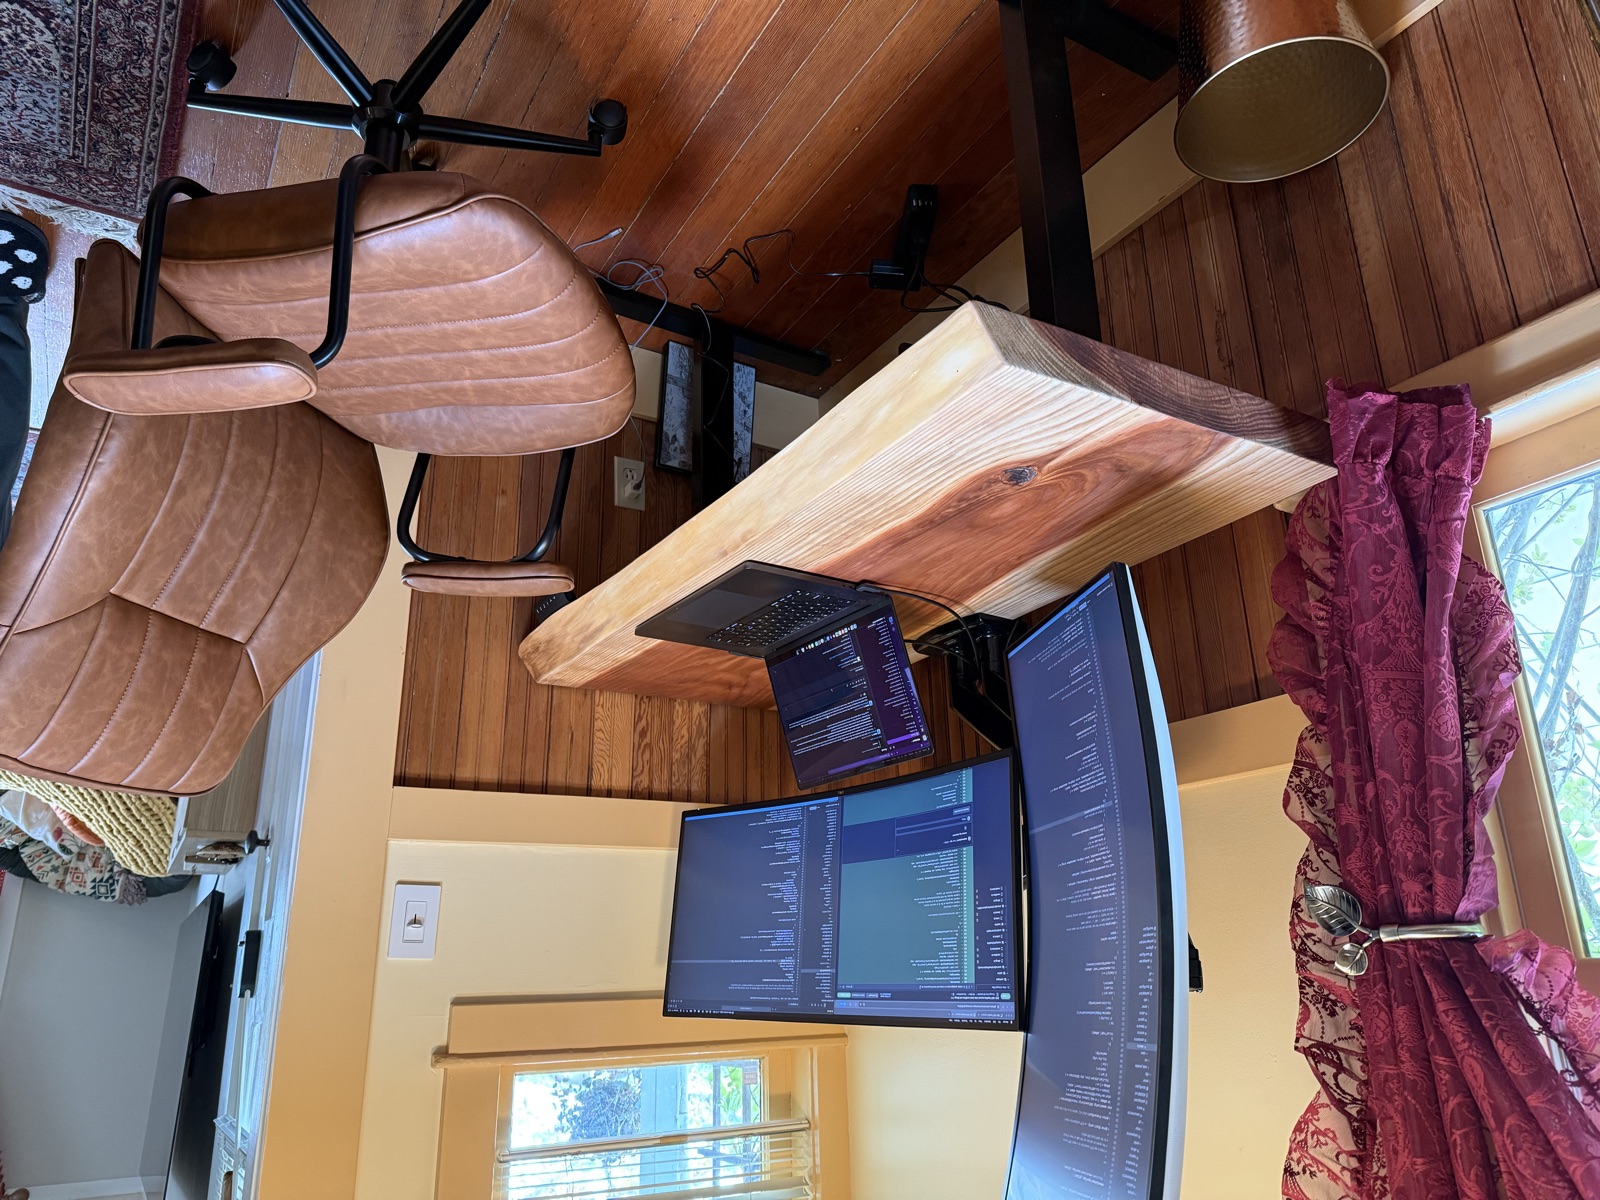
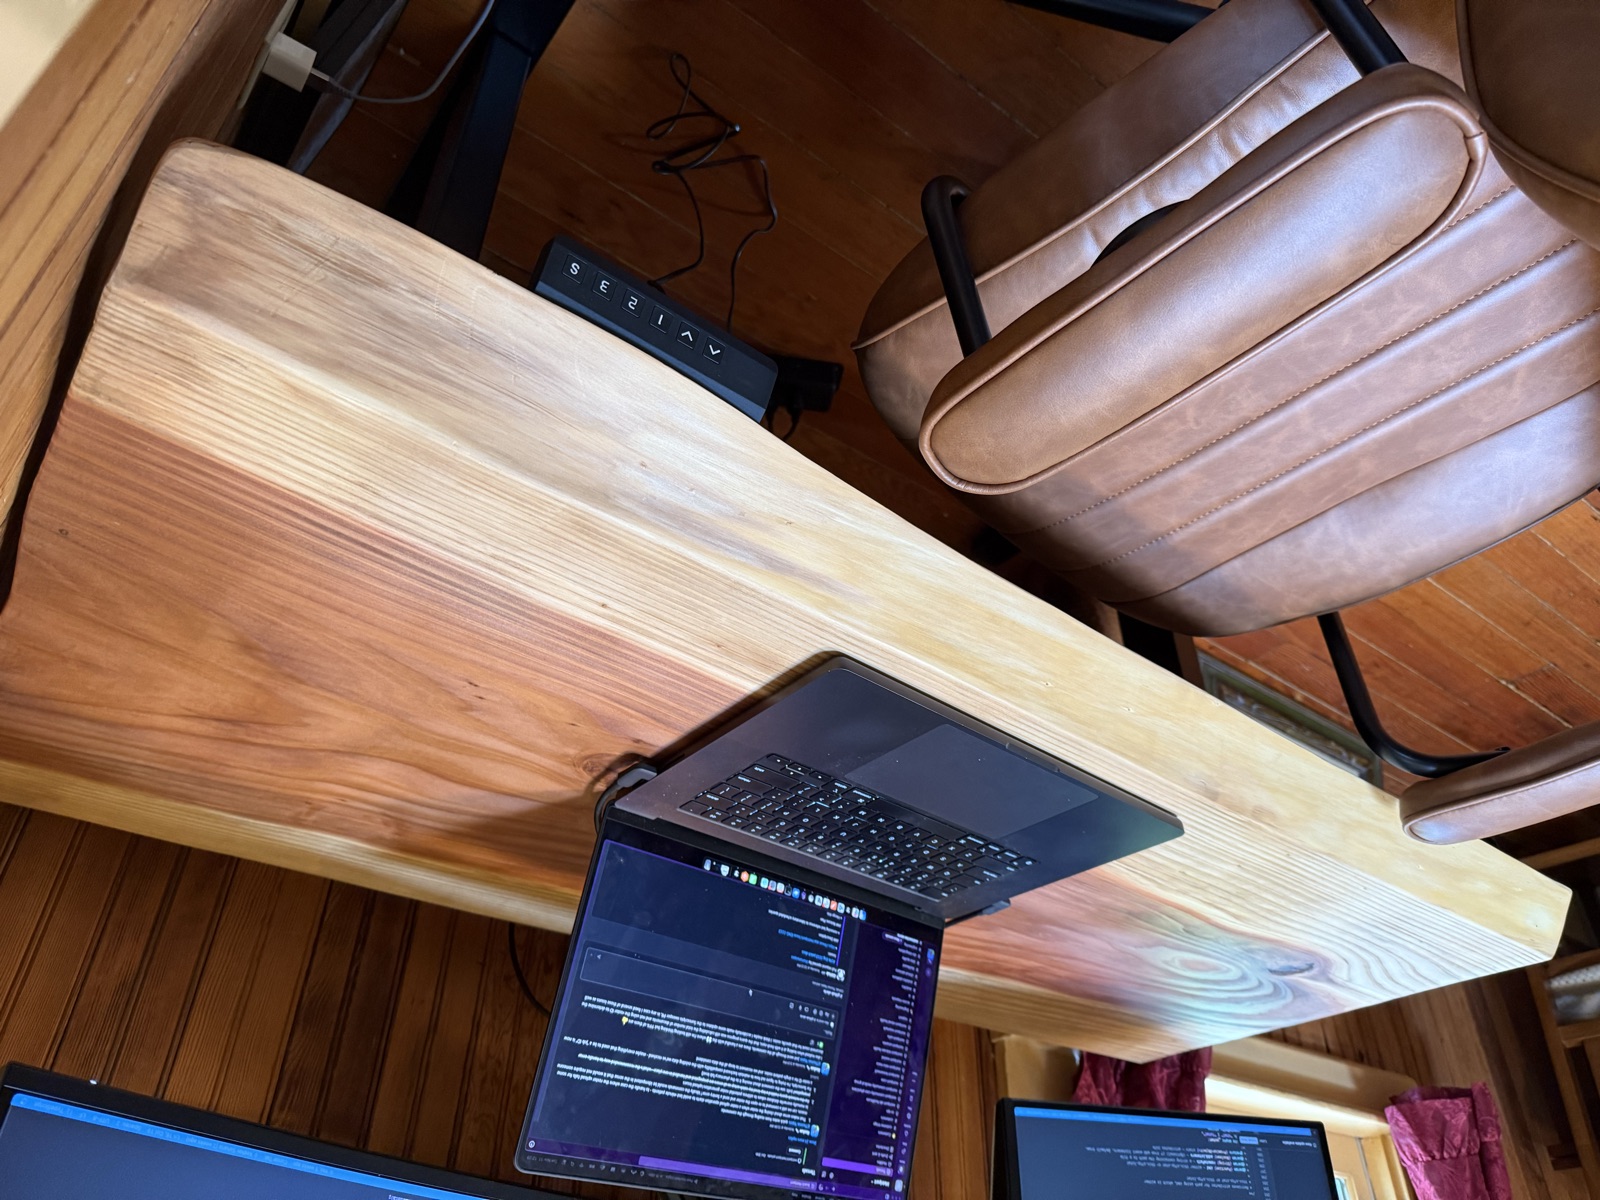
After it dried I bolted the slab to a standing desk frame. The live edge faces me, and the height buttons sit under the right side.
A second table#
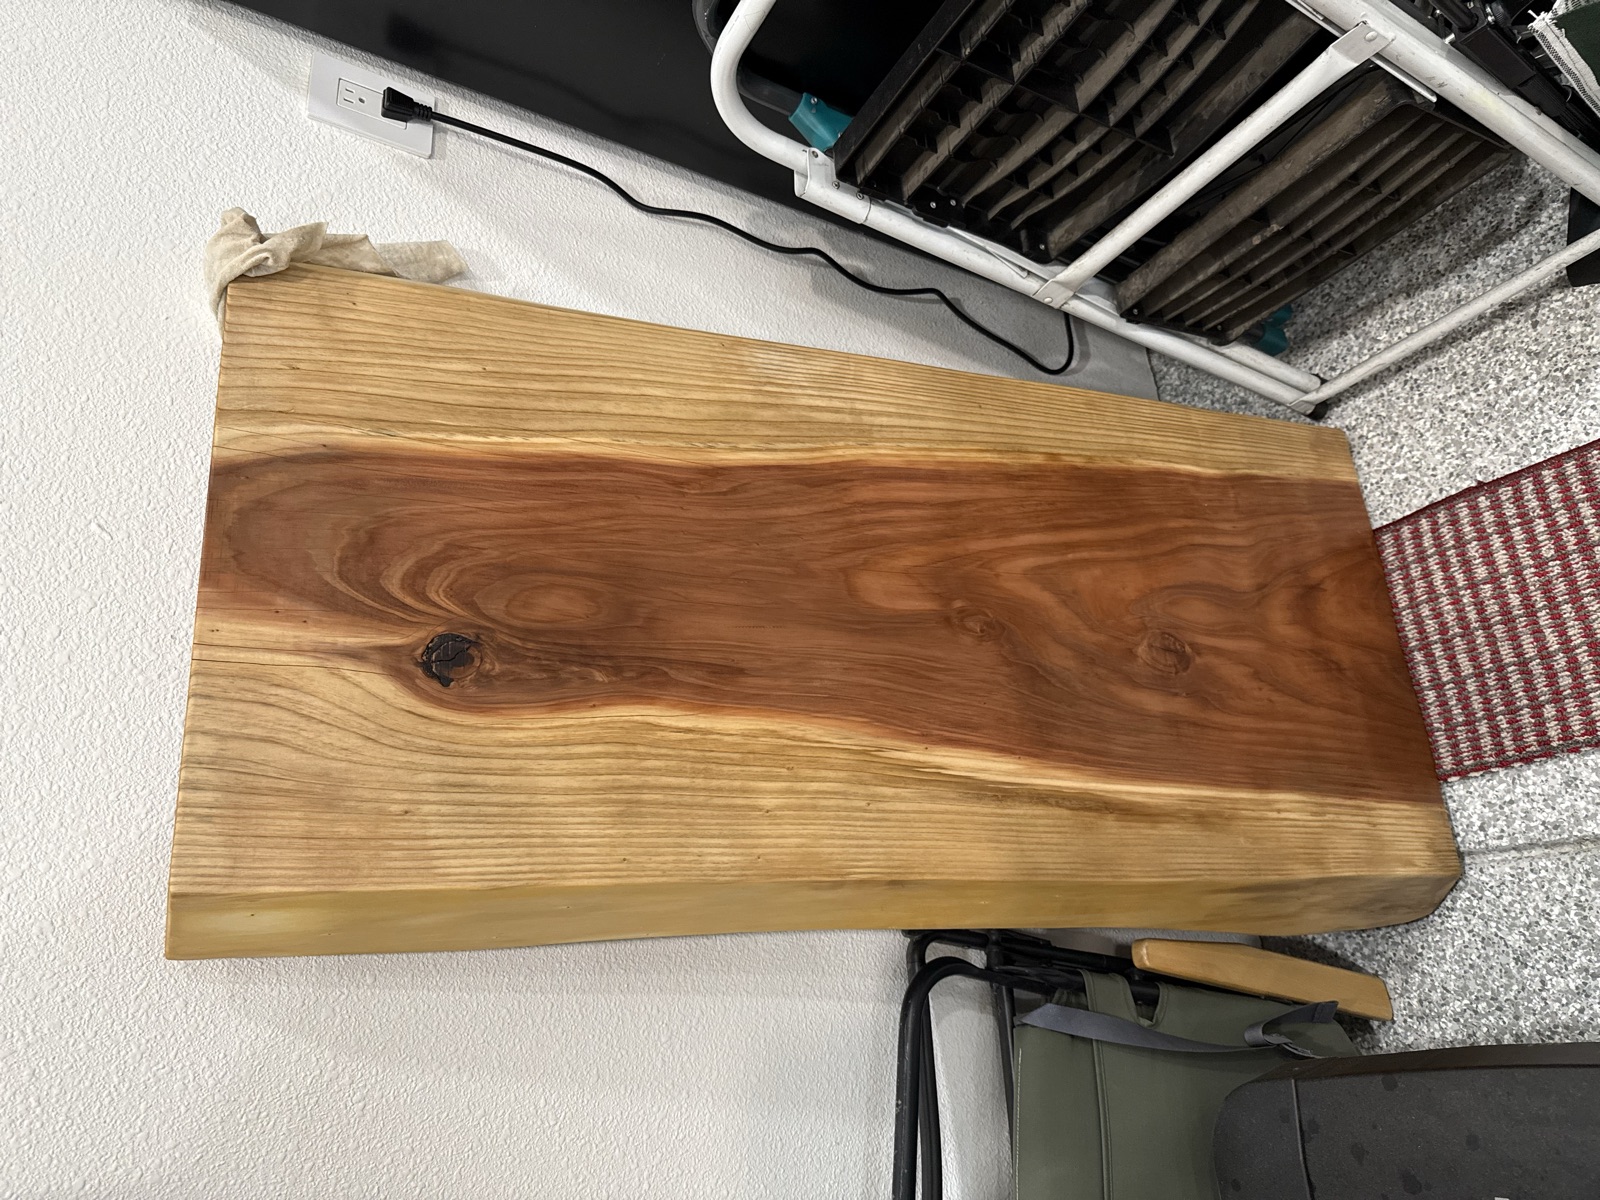
The next slab had bigger knots and a crack that went through to the other side. I sanded it the same way as the first one, 100 grit up through 320.
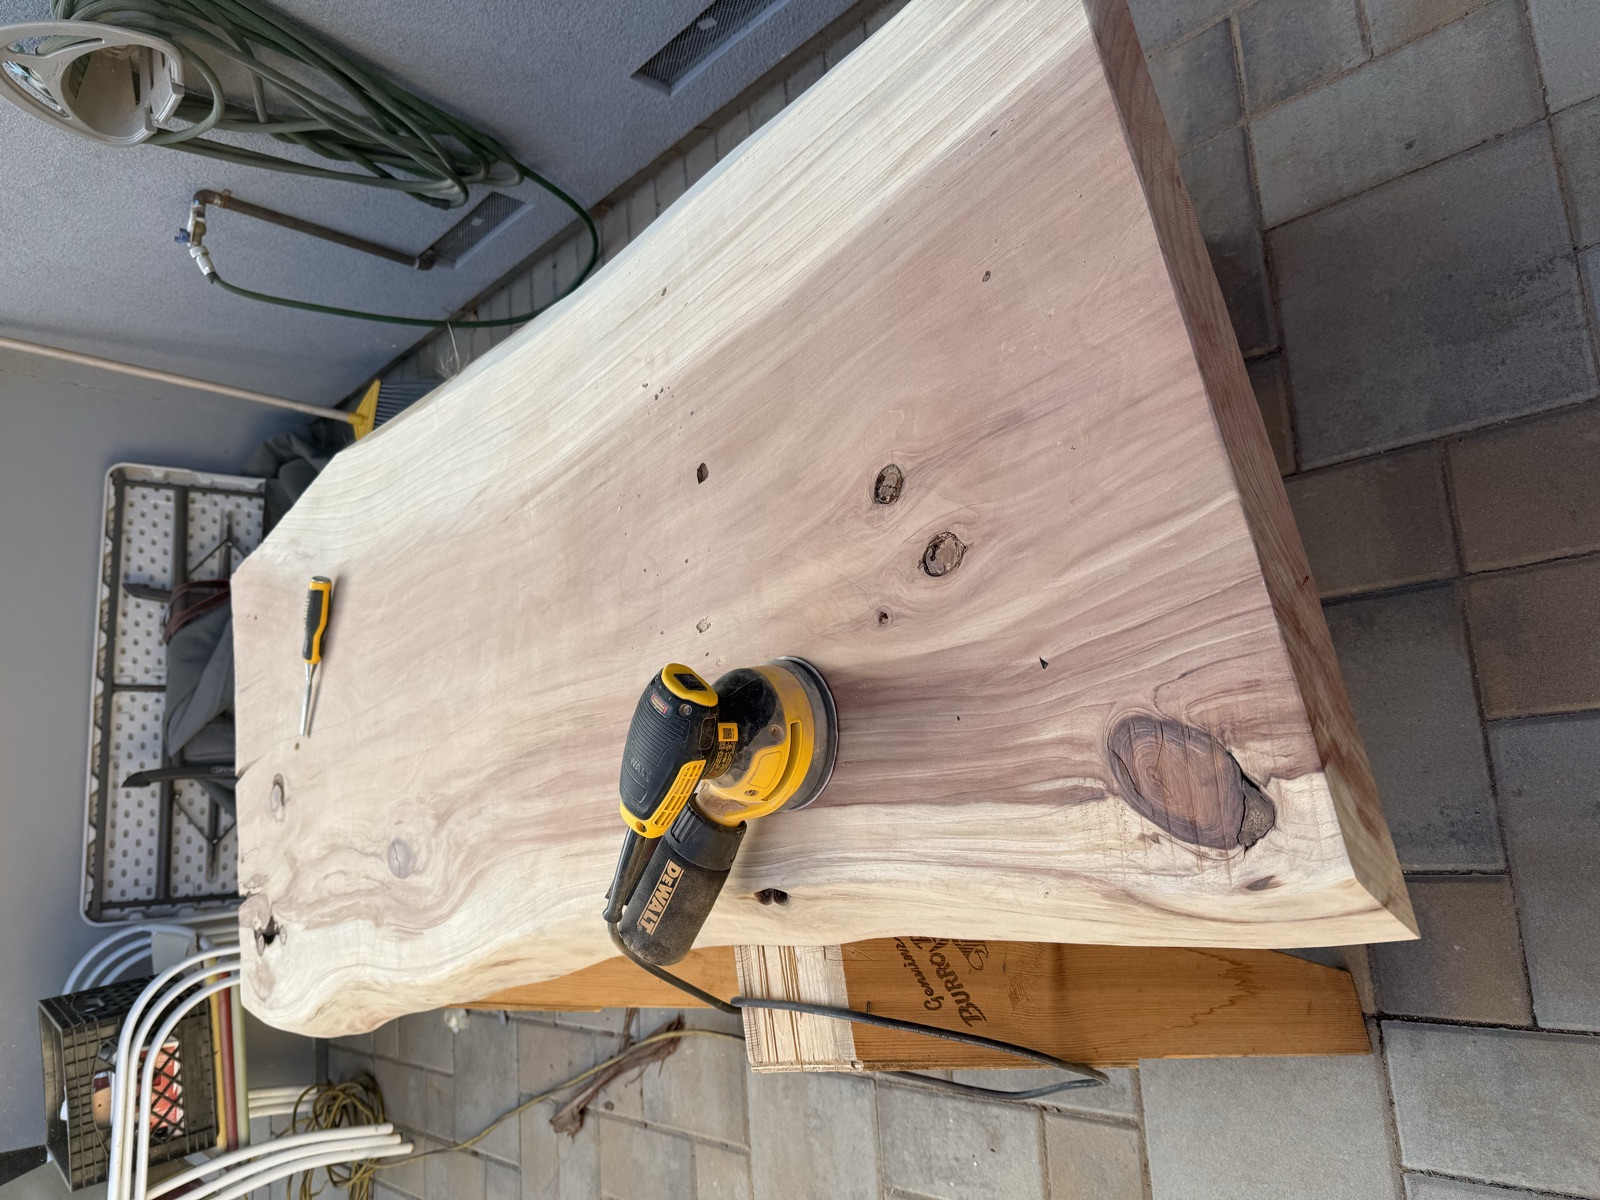
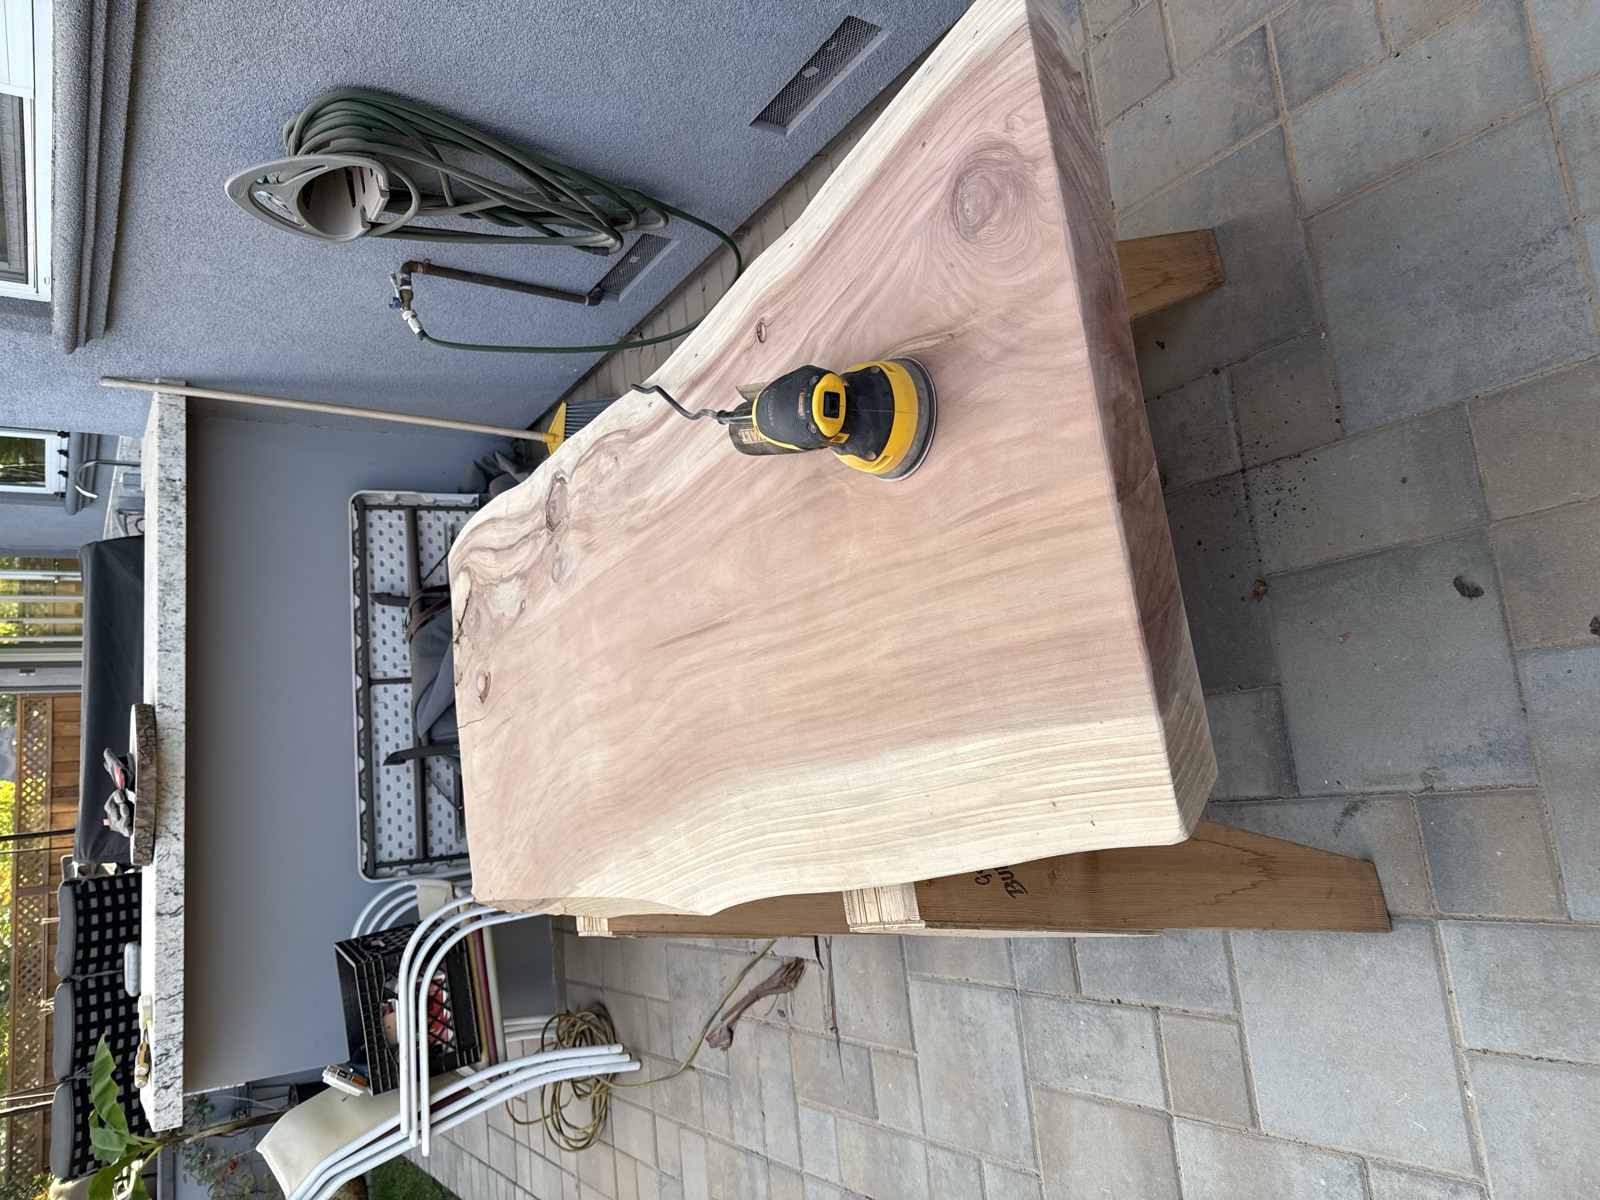
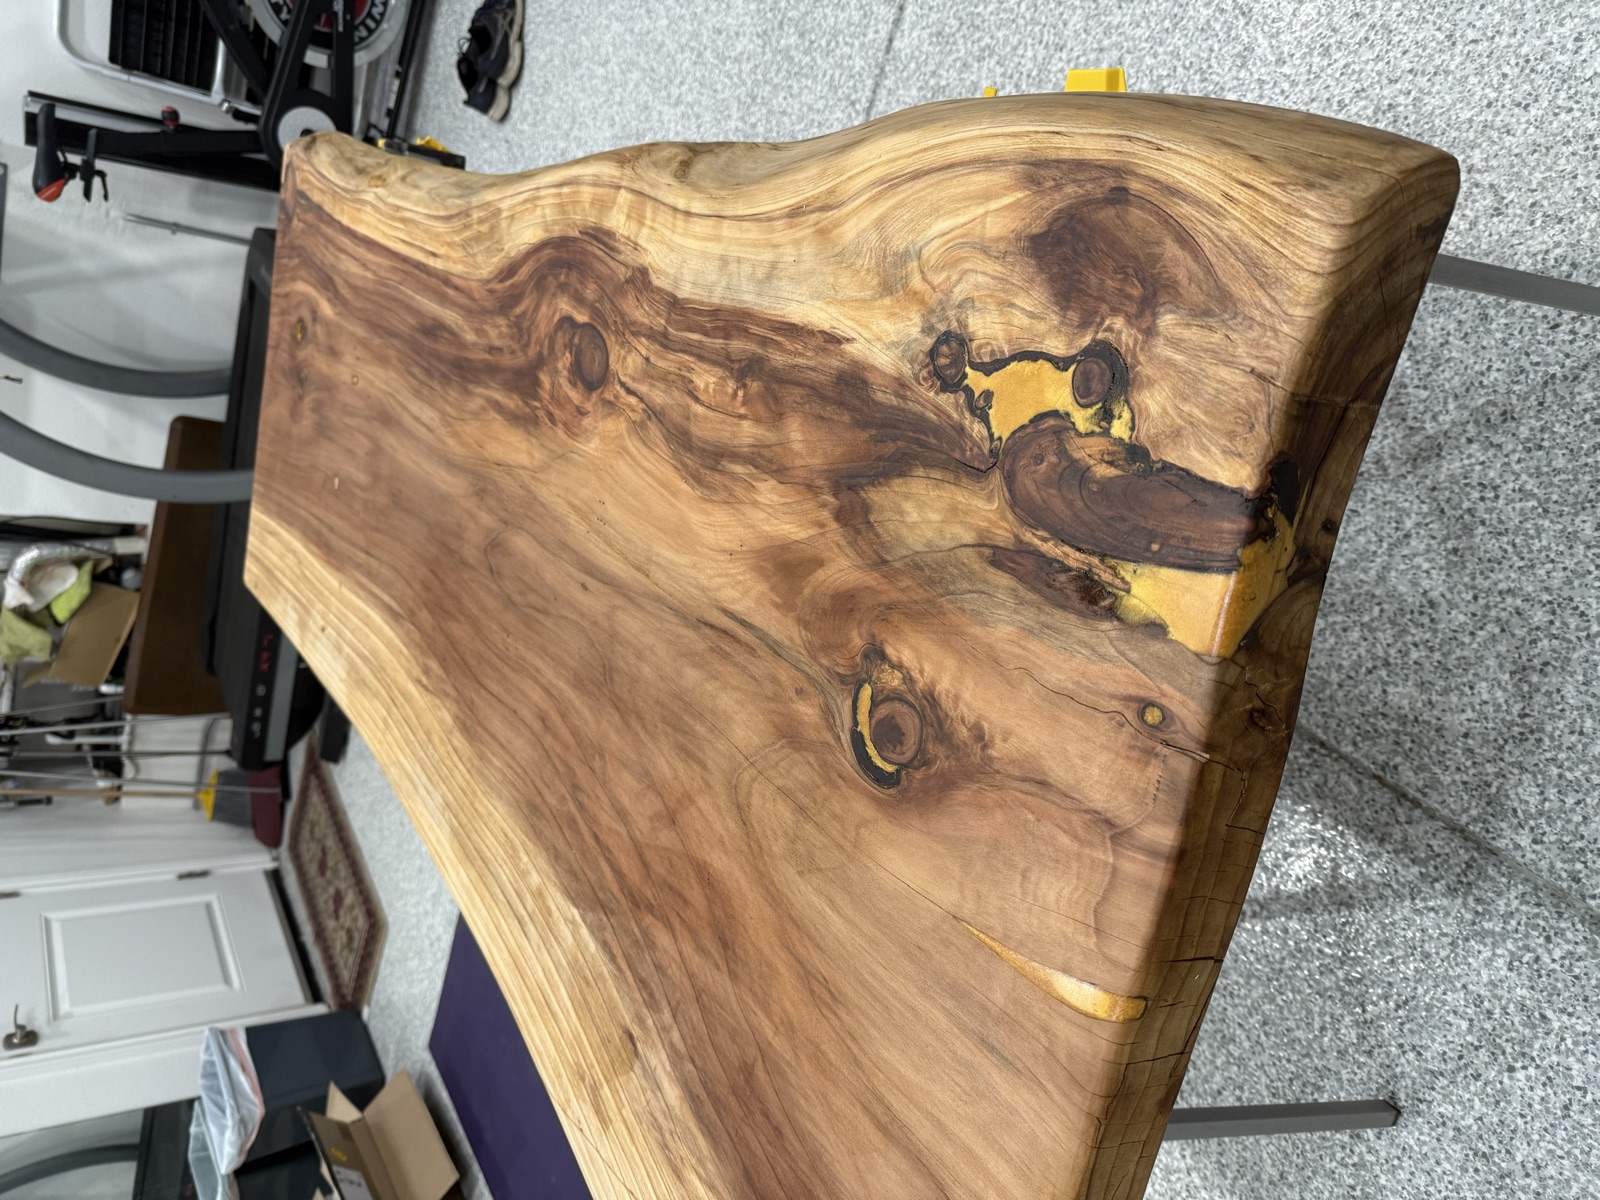
I moved it into the garage once the surface was smooth. A chunk of the live edge came off while I was handling it.
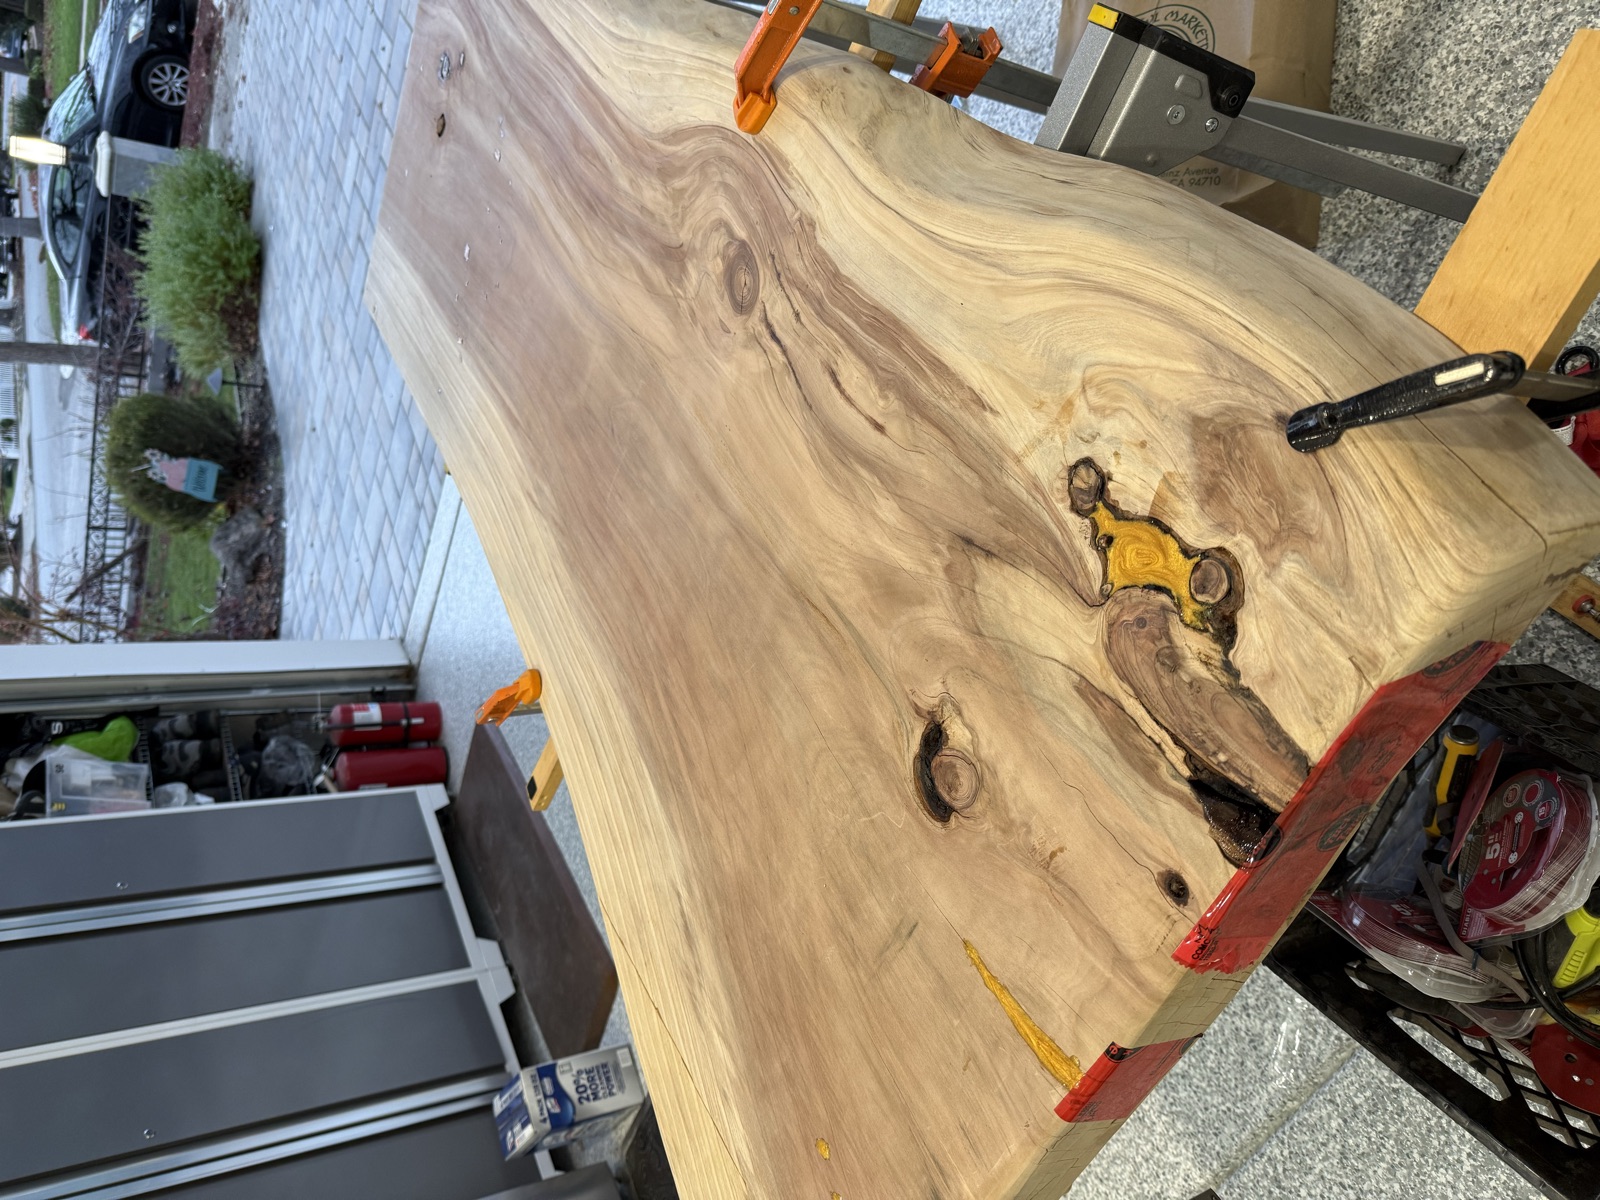
I coated the mating faces with wood glue and clamped it overnight.
Filling the gaps#
The remaining voids needed something that would stay put. I mixed a gold-tinted epoxy and poured it into the knots, then used a plastic spreader to push it into the thinner cracks.
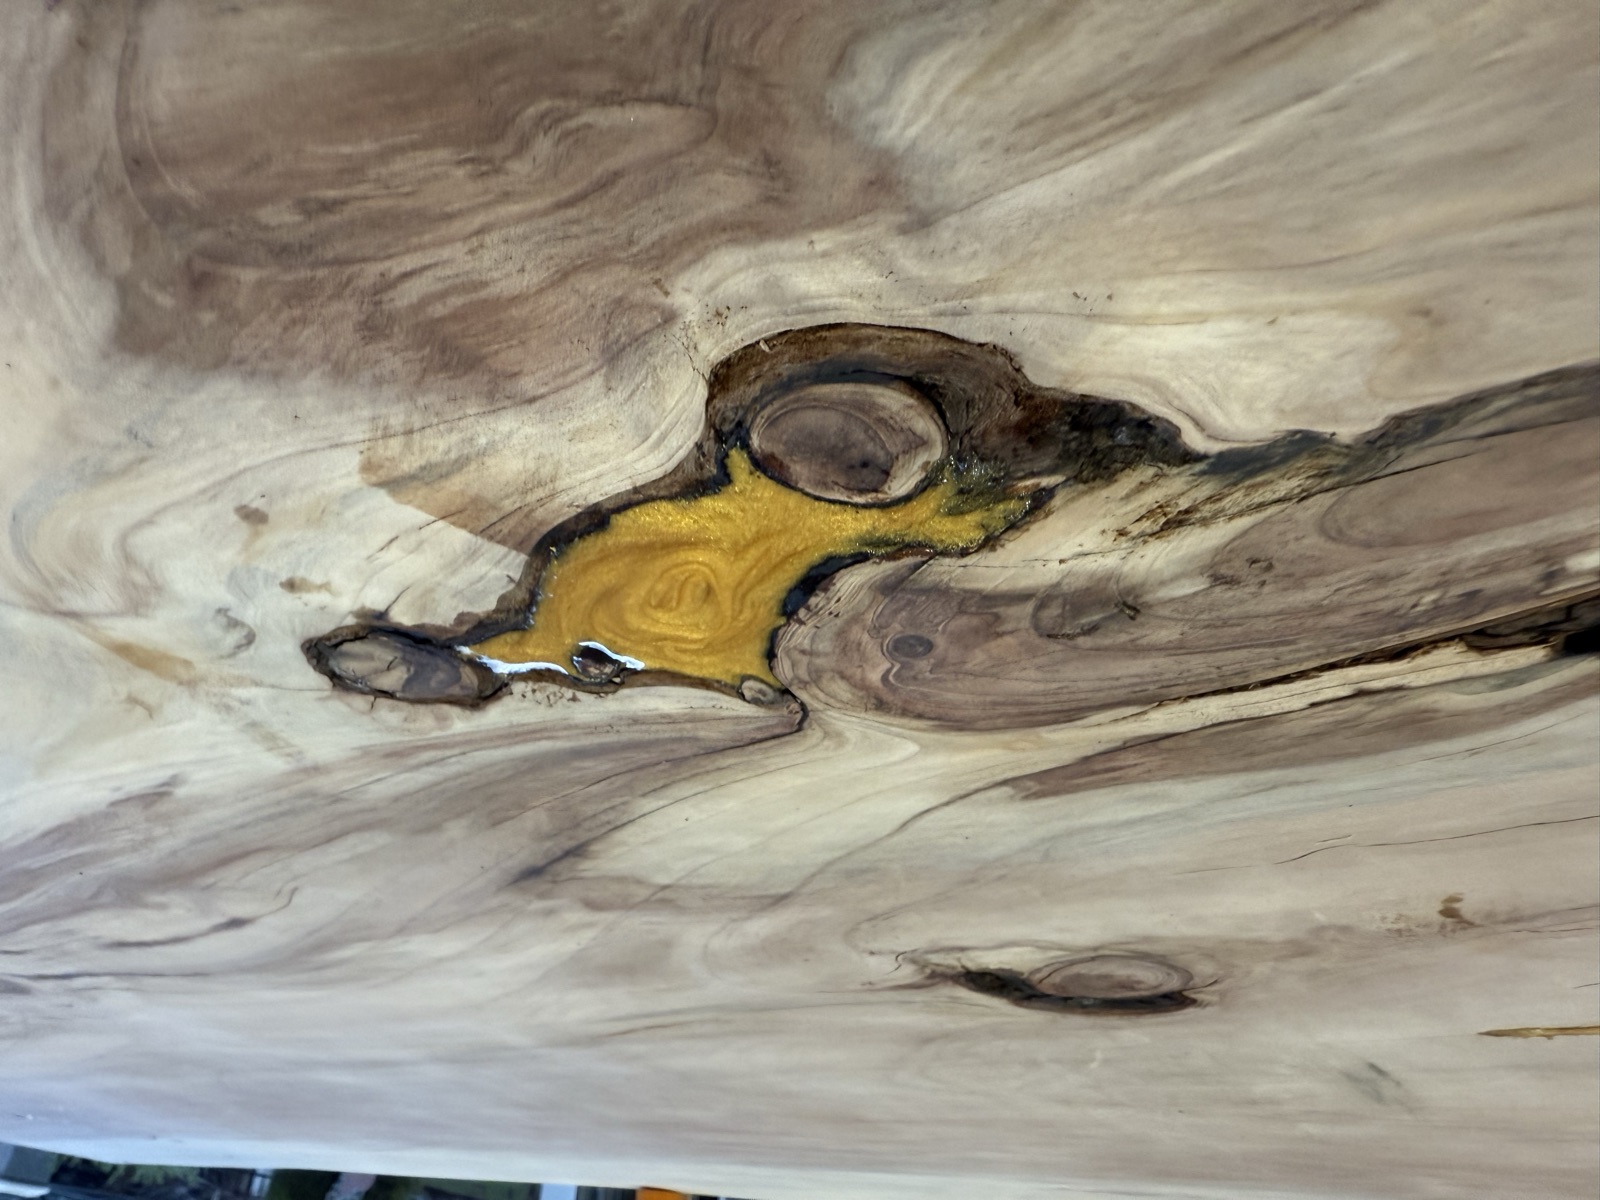
Then the same Odie's oil as the first table.
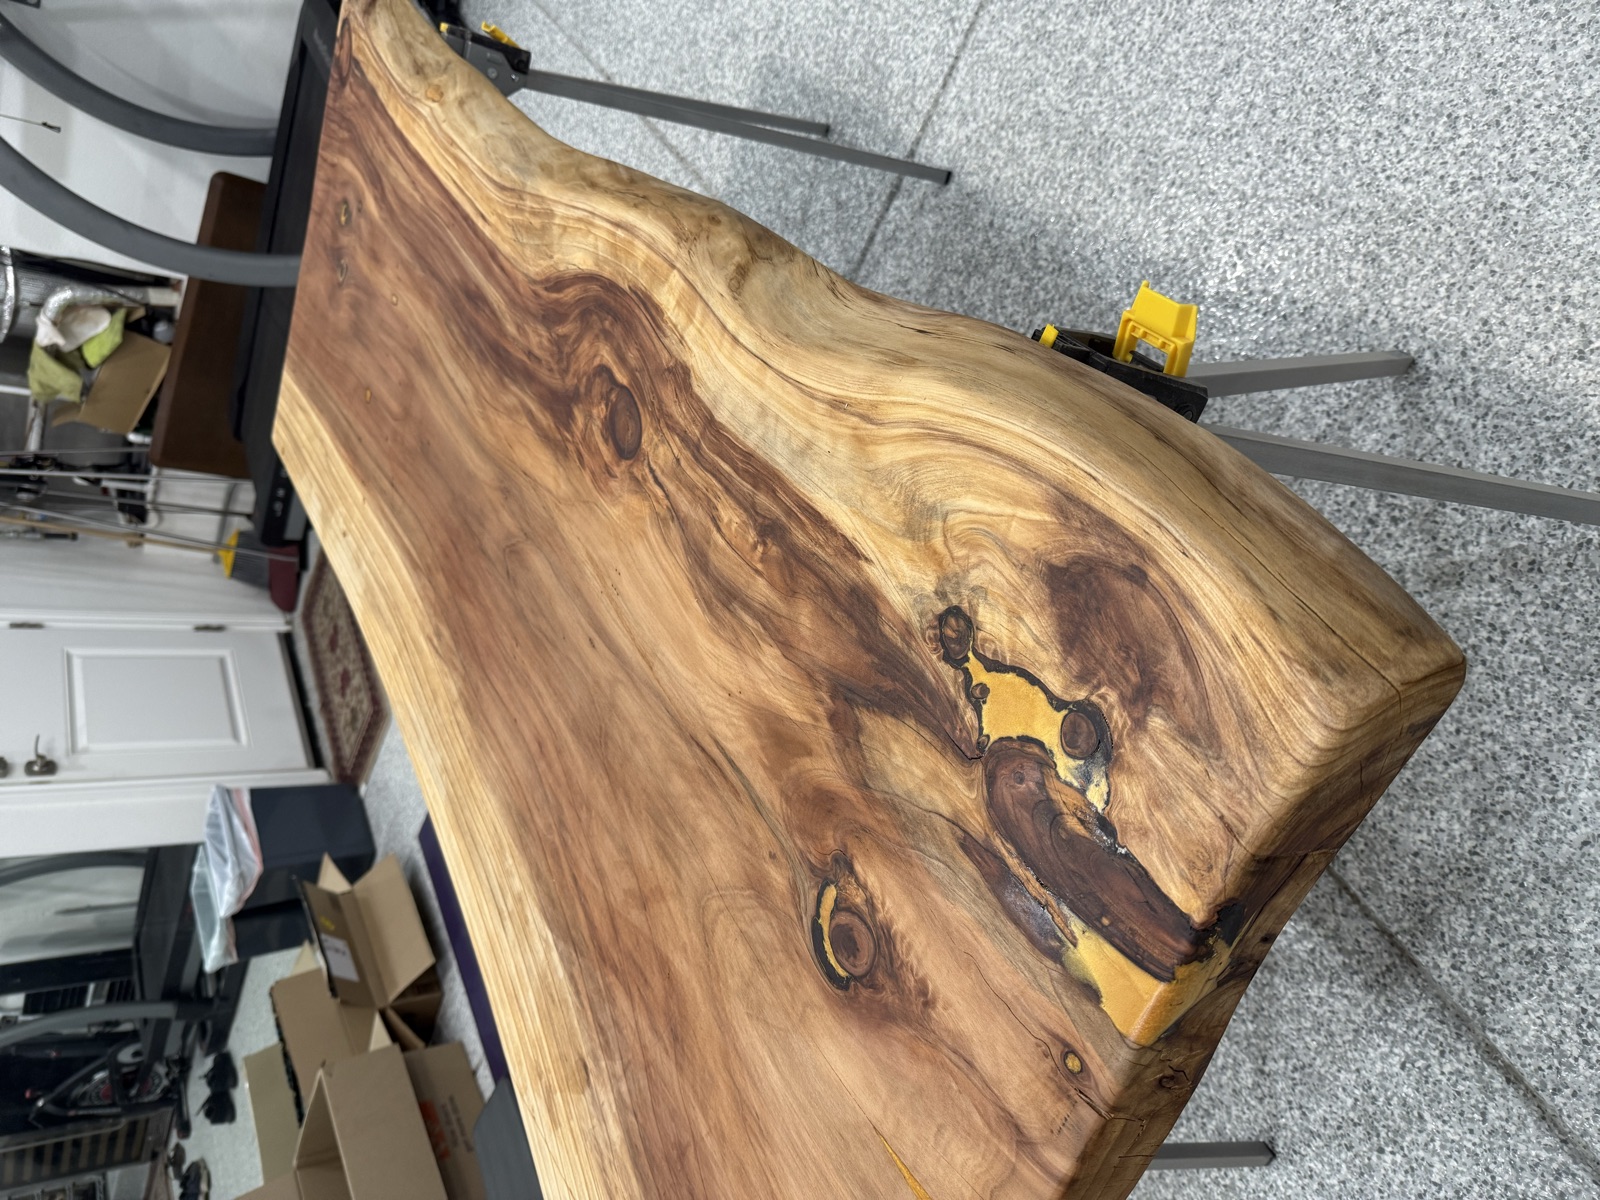
This one got a set of square steel legs instead of a standing desk frame.